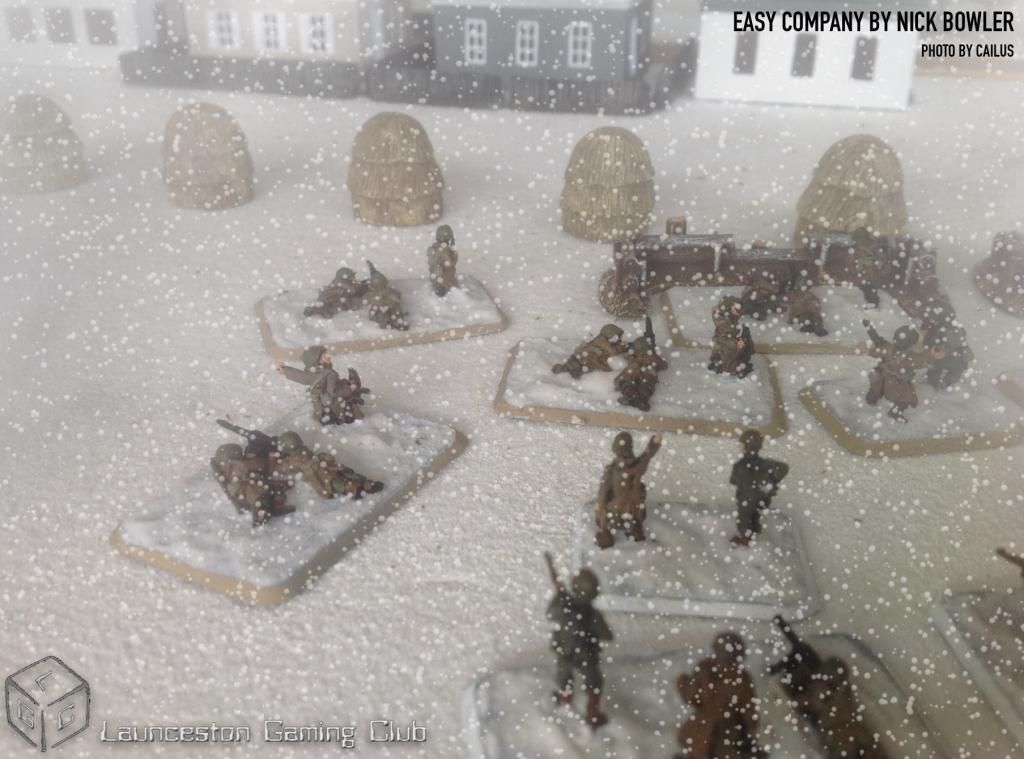
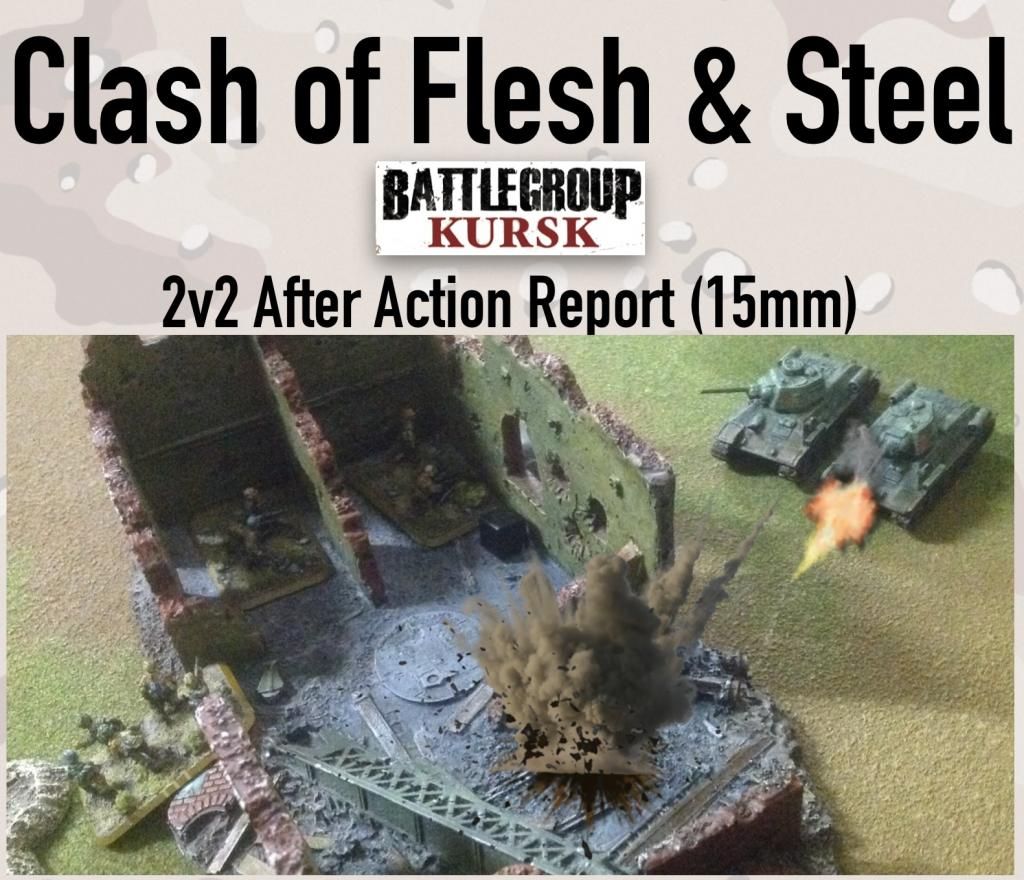
On a recent club night, we organised a 2v2 game of Battle Group Kursk. Three of us had played the game so the turns would be able to proceed without too much stop and starting.
We picked a straight forward 500 point pitched battle. Each player would control a force (with its own D6 worth of orders) but reserves and morale would be combined.
Germans - Cailus
- Forward Observation Team
- Panzergrenadier Platoon with trucks
- Motorcycle Reconnaissance Team
- StuG III
- StuG III
Germans - Starn
- Tiger I Ace
- SdKfz 232 (8 rad)
- SdKfz 232 (8 rad)
- Armoured Panzergrenadier Squad w/MG42
- Armoured Panzergrenadier Squad w/MG42
Soviets - Dead1
- Senior Officer and headquarters team
- Strelkovy Platoon
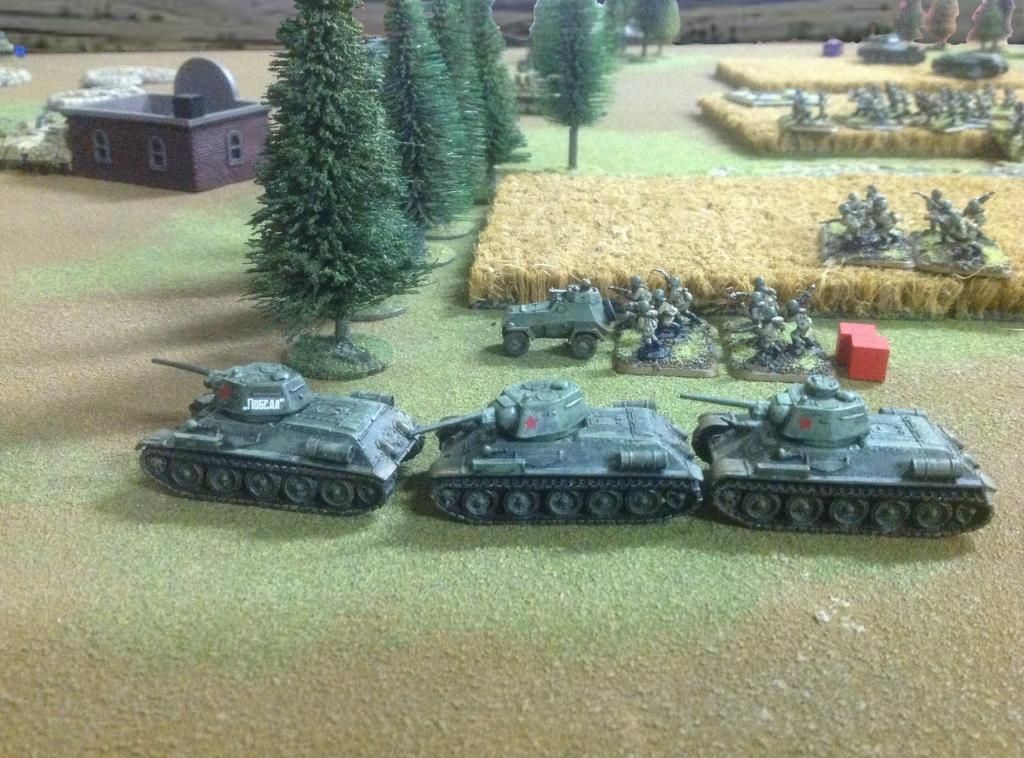
- T34 Squad (3 x tanks)
- Infantry Scout Team
- BA-64 Armoured Car
- Pre-designated Katyusha strike
Soviets - Nick
- Senior Officer and headquarters team
- Strelkovy Platoon
- T34 Squad (3 x tanks)
- Infantry Scout Team
- BA-64 Armoured Car
- Off board Mortar Team
DEPLOYMENT
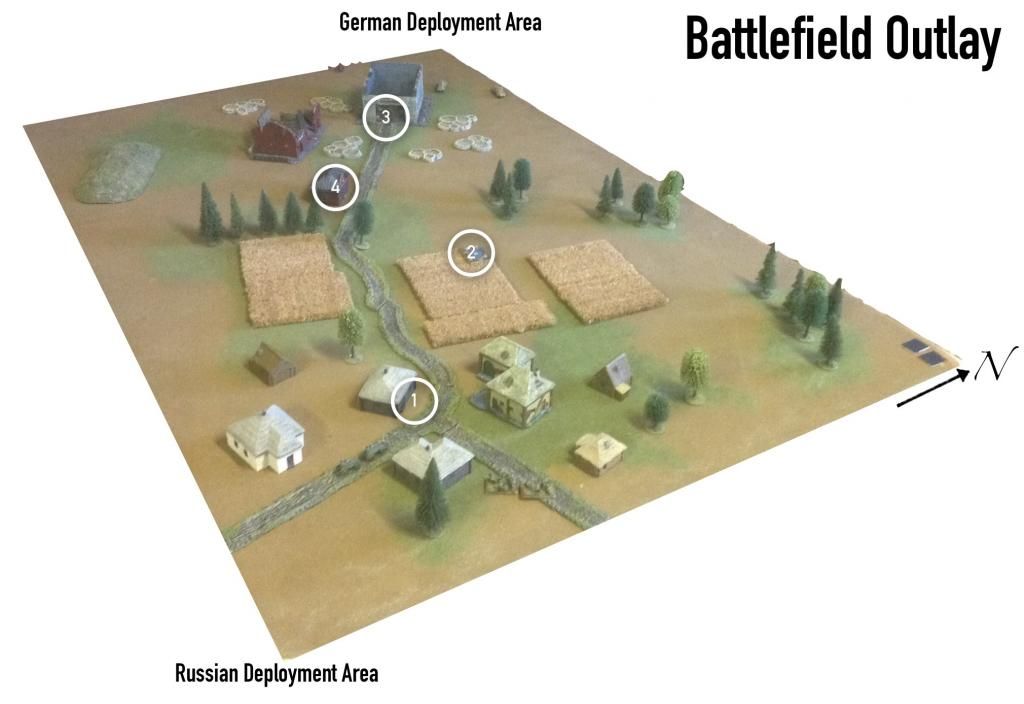
The terrain was basically split into two - a village settlement in one corner with a road leading an industrial area opposite.
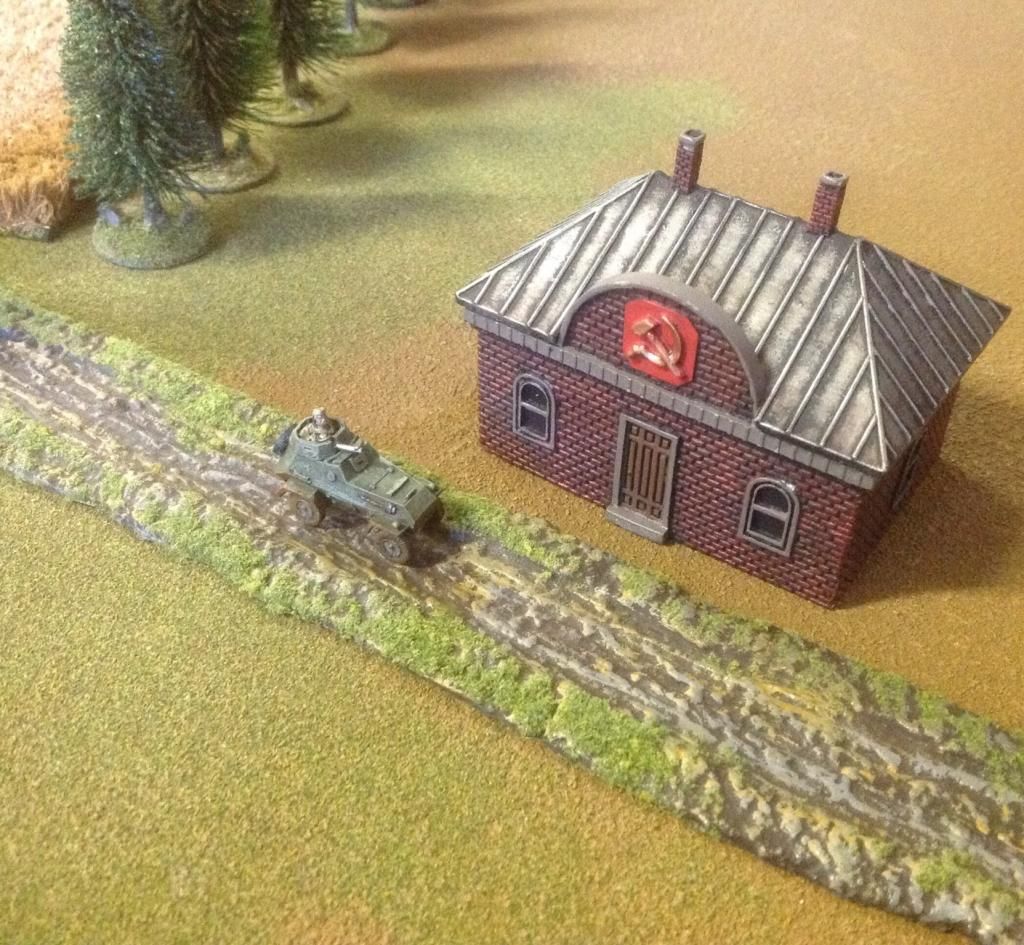
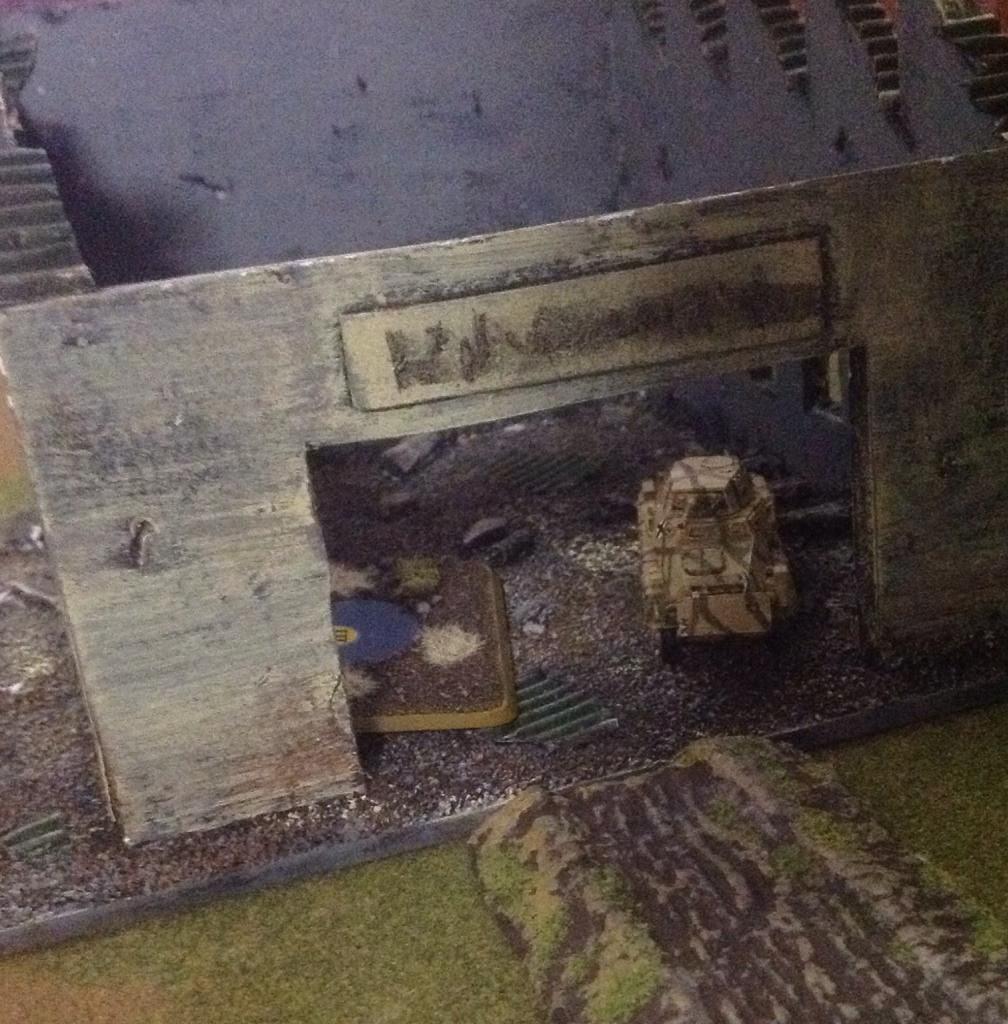
There were four objectives - Ivan's House (1), Grid Point 246 by the wheat field (2), the Warehouse (3) and the Communist Party Office (4).
Thanks to having more scout units, the Soviets managed to pick their corner and would go first. They picked the village corner and deployed their scouts units.
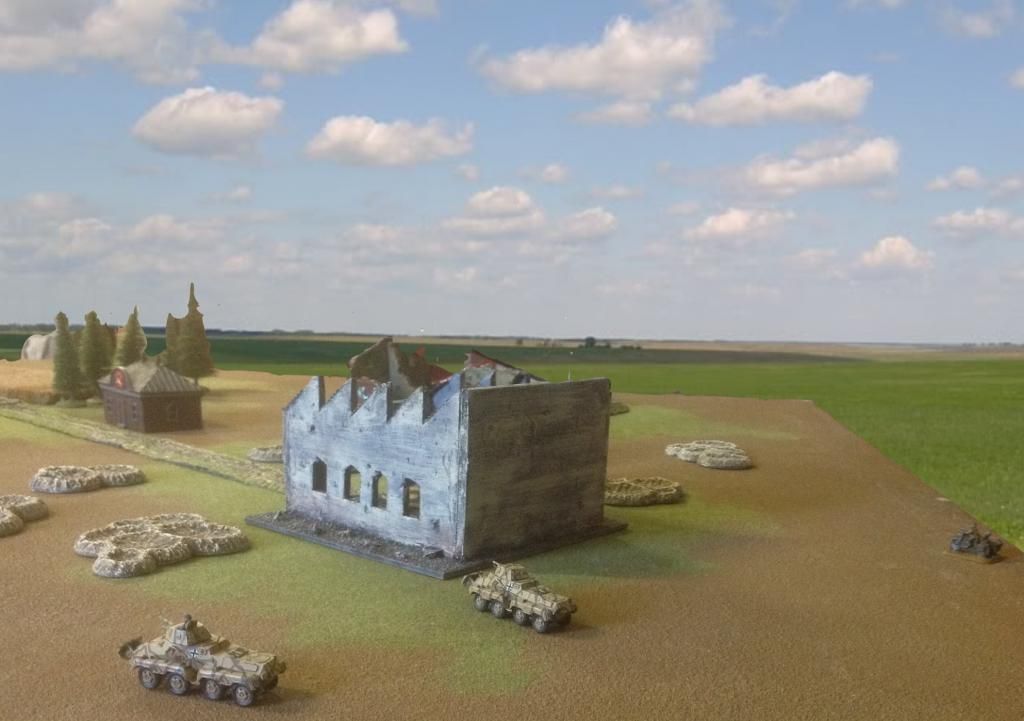
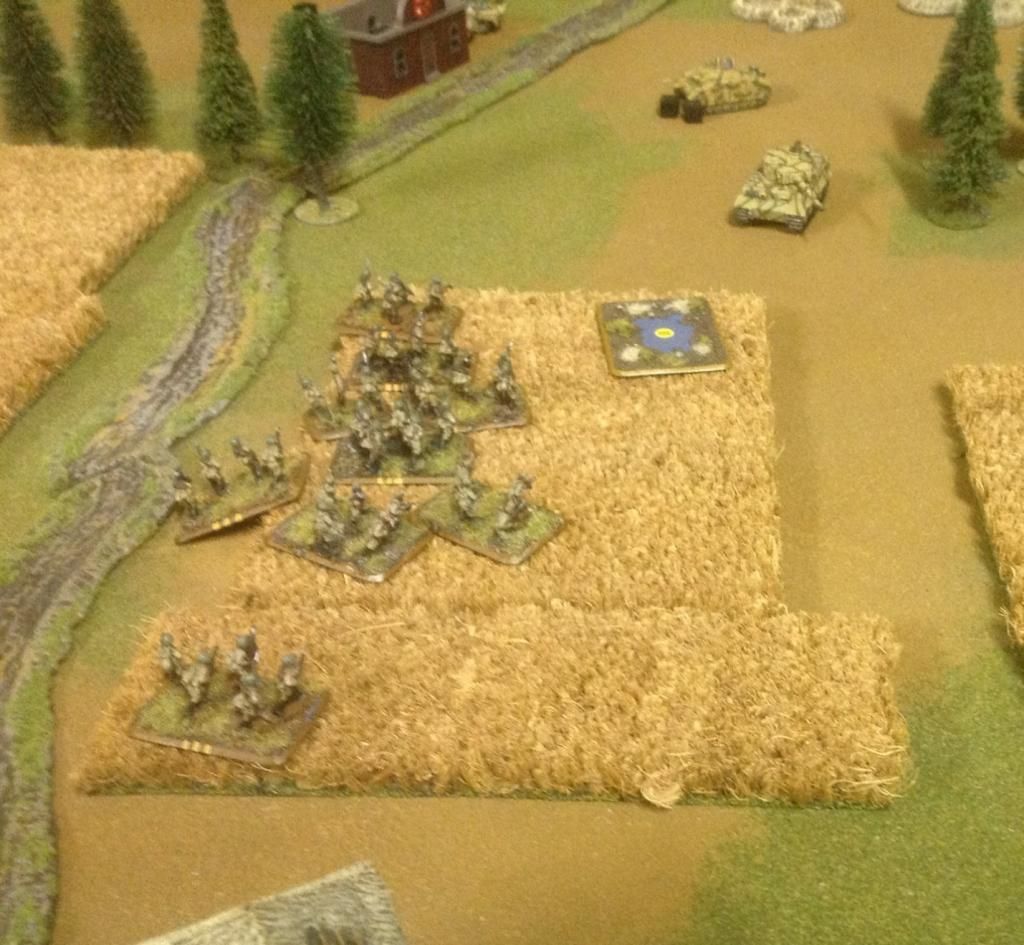
The Germans deployed by the industrial area.
With the Soviets having more Scout units than the Germans, the Axis automatically gained a BR token.
The Soviets secretly noted where and when their pre-designated Katyusha strike would come raining down. I guessed that it would fall on the Warehouse either turn 2 or 3.
 |
| Soviet Deployment |
 |
| German Deployment |
TURN 1 - SCOUTED OUT AND OUTMANOEUVRED
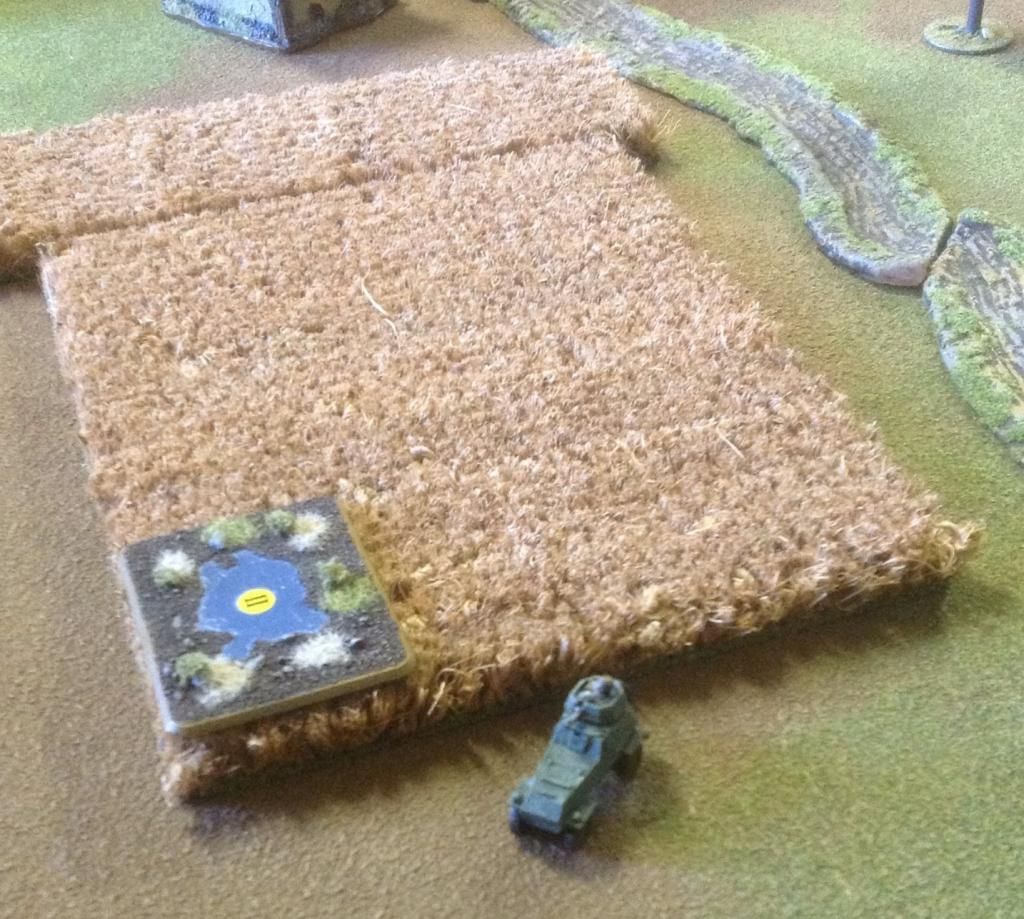
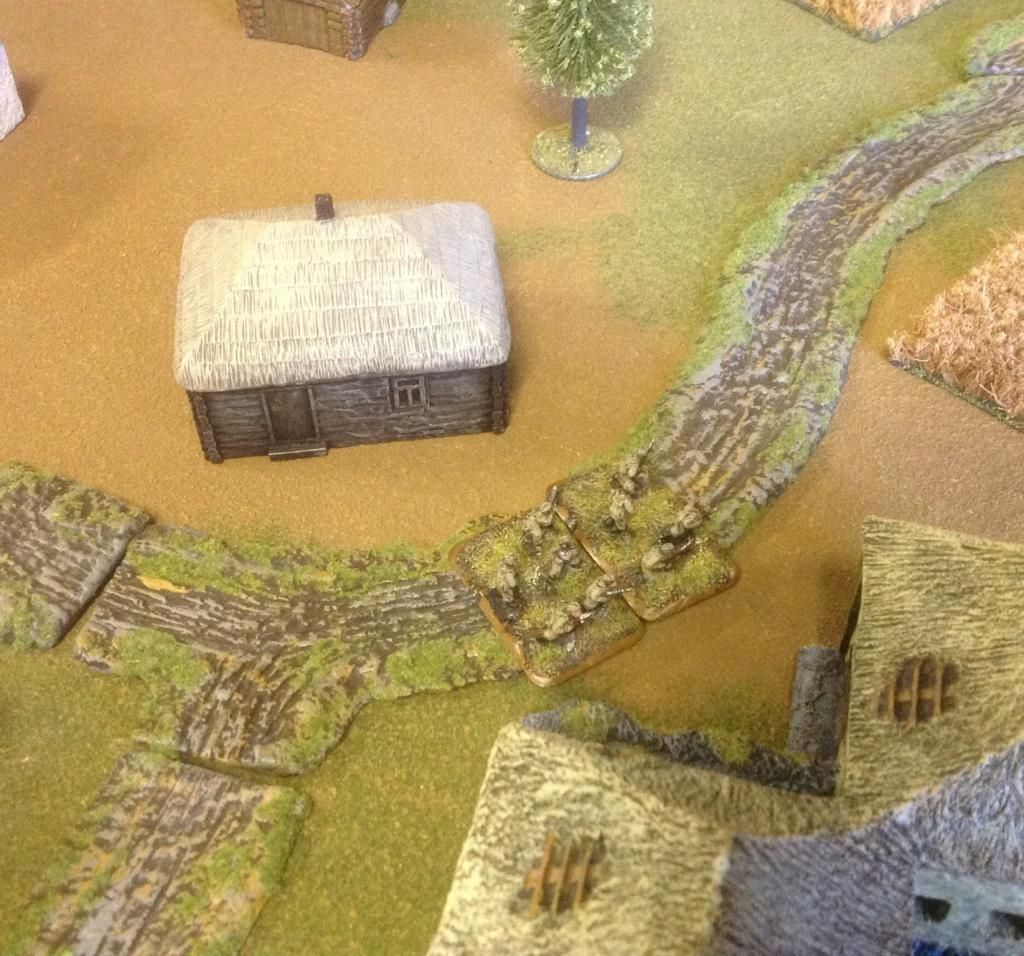
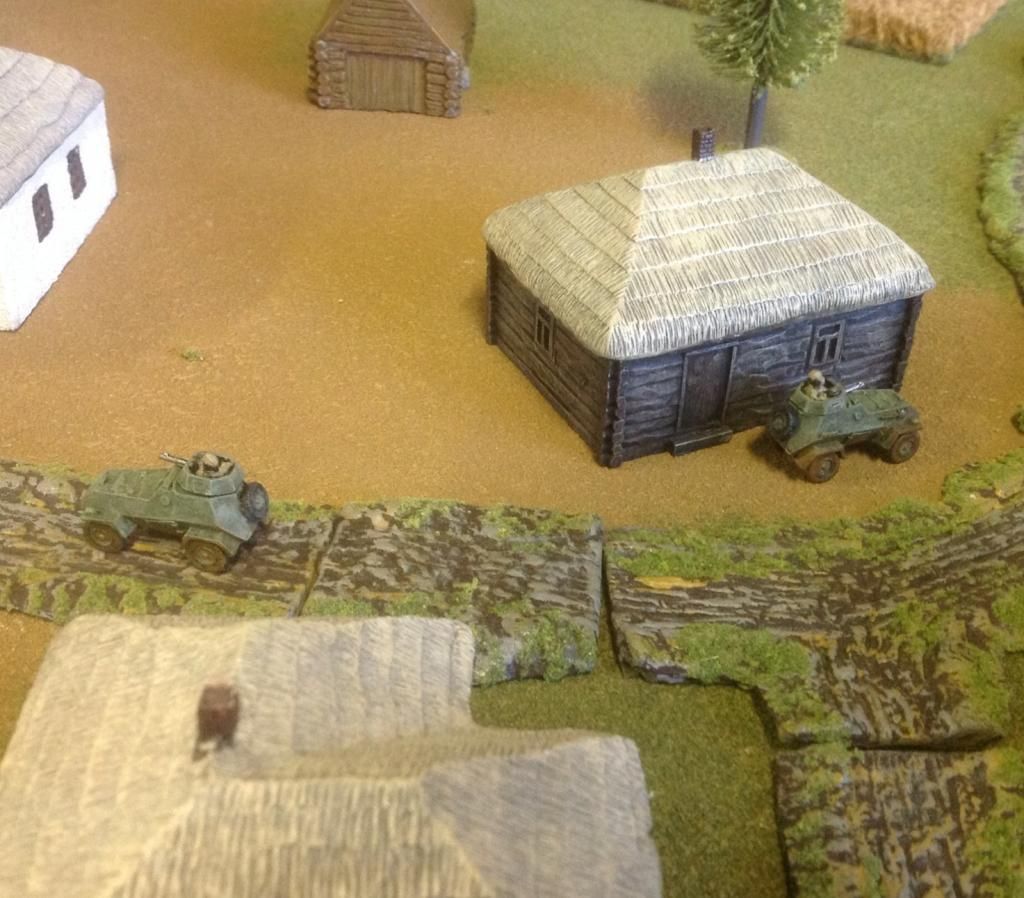
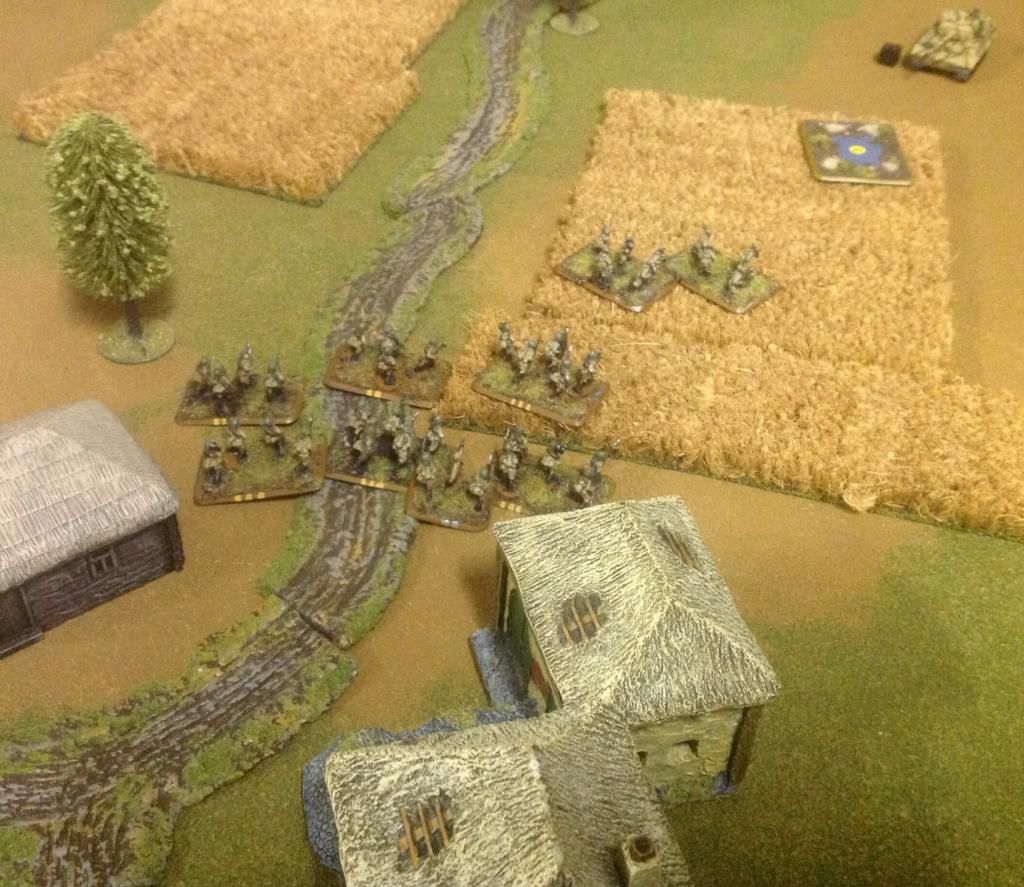
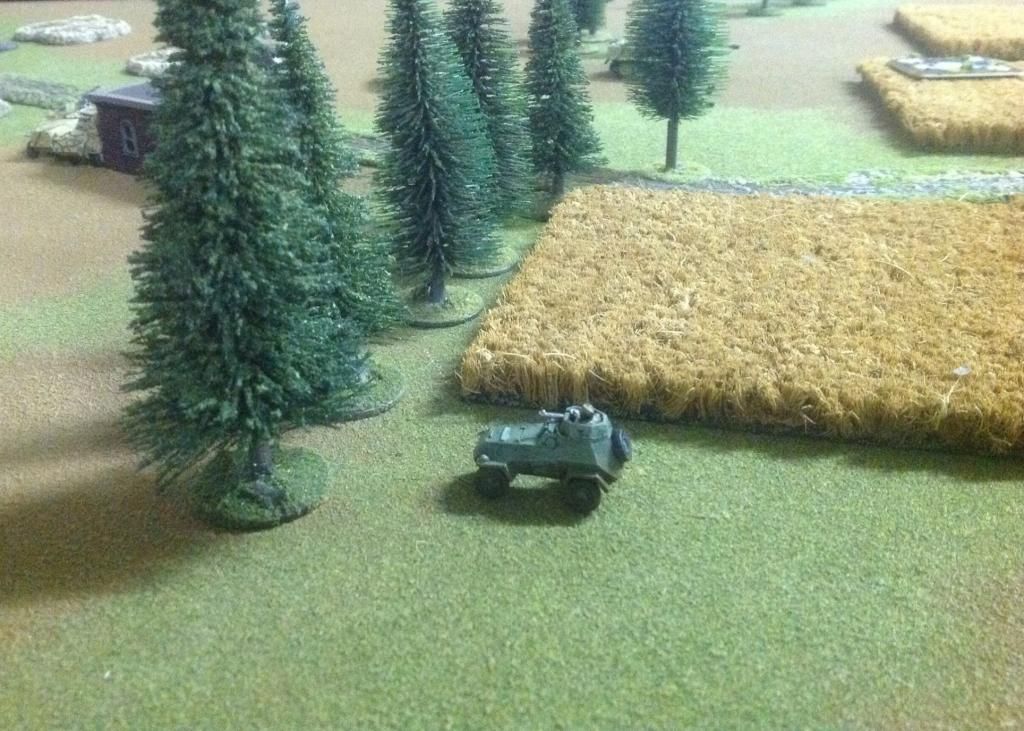
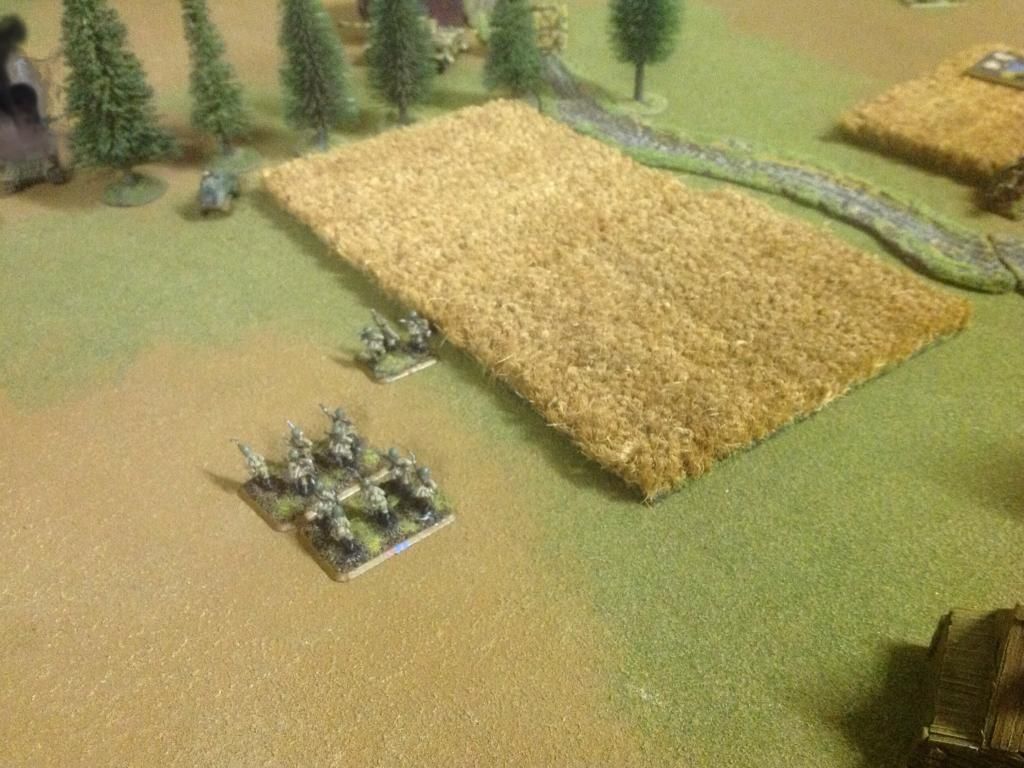
The BA-64 armoured cars used the road to to good effect and zoom forward and quickly capture Grid Point 246 and the Communist Party Office. One of the infantry scout teams kicked in the door at Ivan's house. Declaring it cleared, the Soviets had gained three objectives. He other scout team ran along the main road.
The German plan was for the armoured Panzergrenadiers to attack the village via Grid Point 246, supported by armour. The truck laden infantry would form a second wave, either securing the industrial area or reinforcing the armoured infantry.
Bereft of any immediately nearby roads, the German scout units were a lot slower.
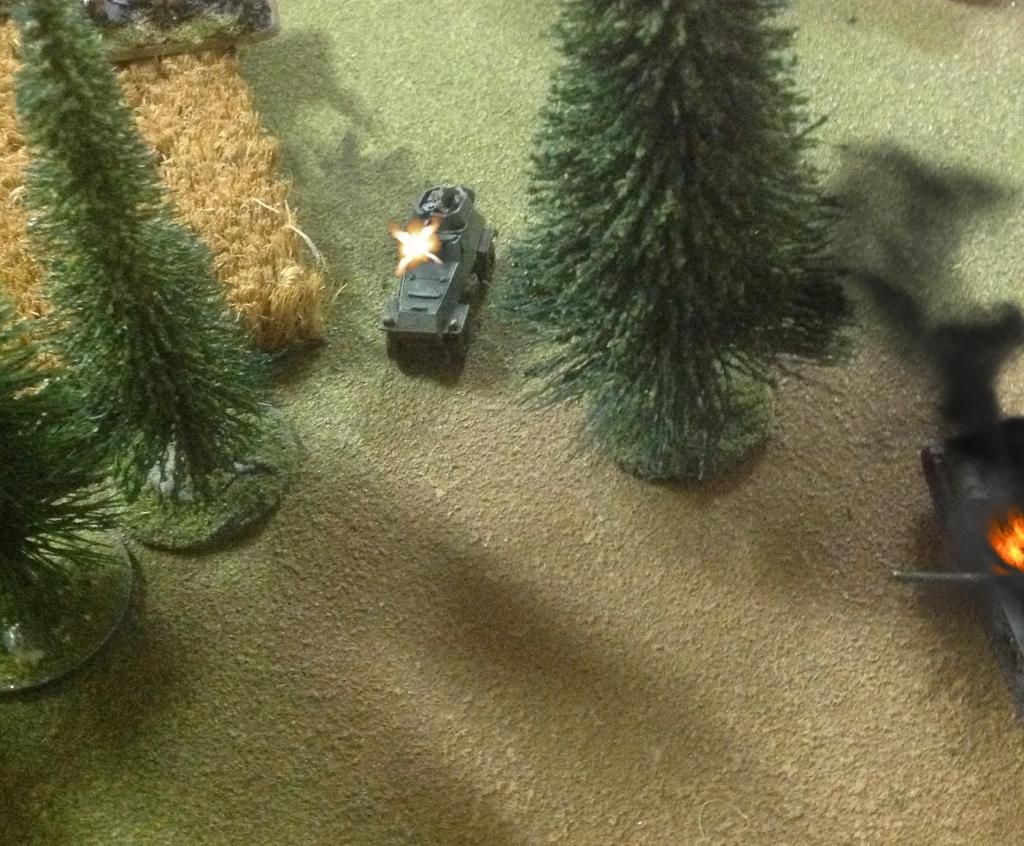
The BA-64 by the Office was a tempting target and Starn ordered one of the advancing 8 rads to take a shot at it with its 20mm cannon. It dismally missed however it had gained the Warehouse objective.
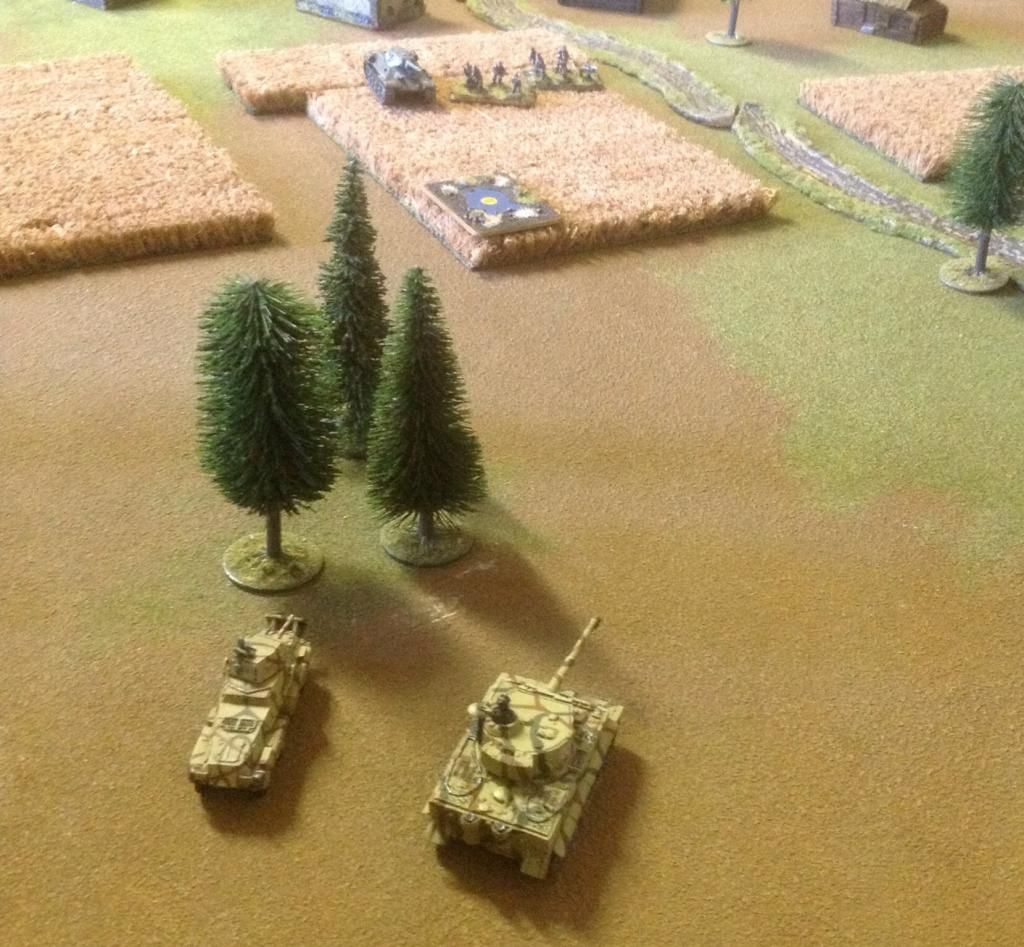
The other 8 rad headed east at double speed, hiding in the shadow of the small woods facing Grid Point 246. Meanwhile the motorcycle team trudged along towards the ruined Factory.
TURN 2 - THE TRICKLE
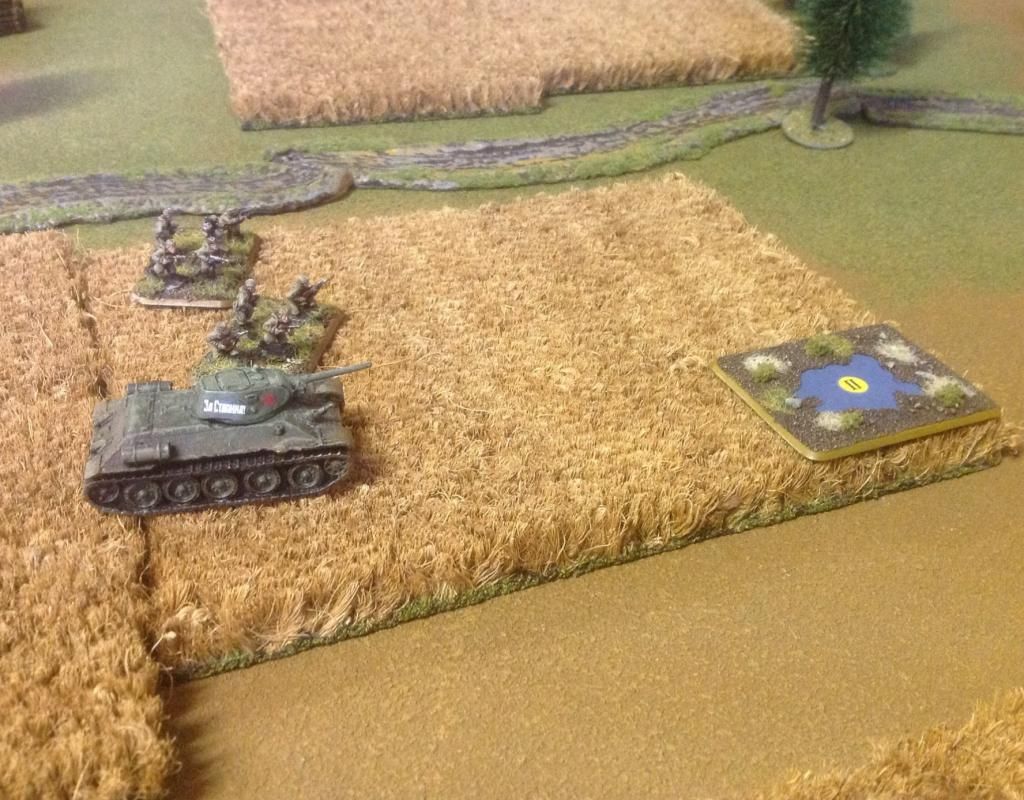
A single T34 arrived from the Eastern road and used its speed to reach Grid 246, supported by a scout team. As the BA-64 armoured cars had done their job, they pulled back into the village.
Mortar fire against the Tiger and nearby units was ineffective.
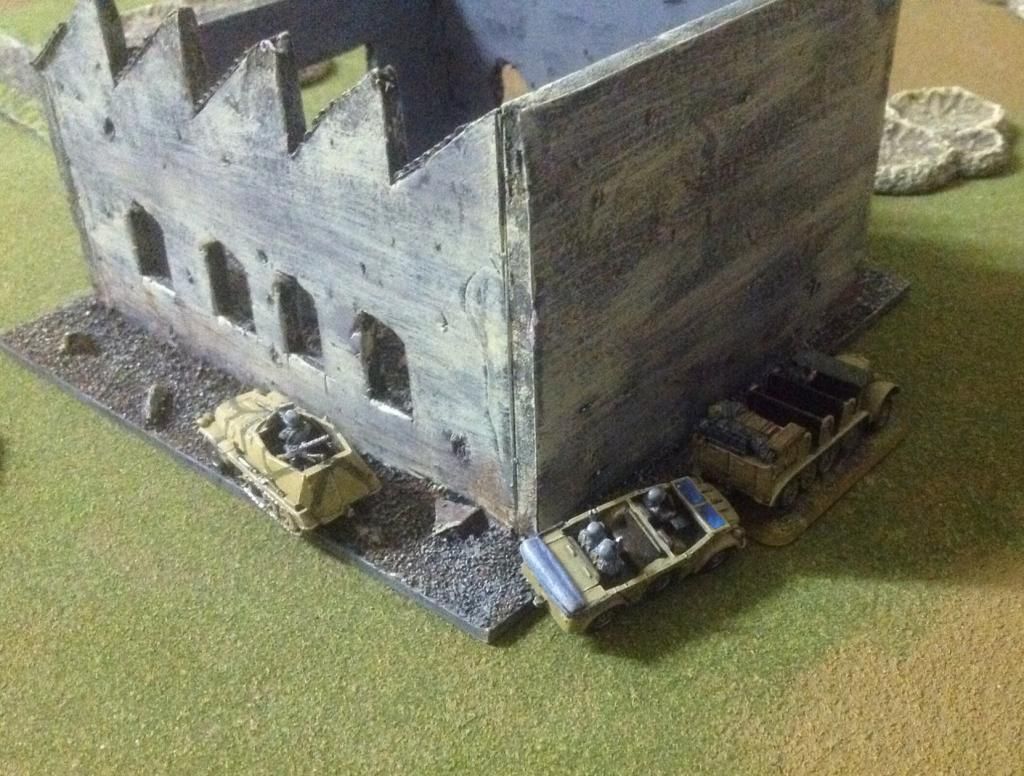
The German reinforcement was slightly more fear inspiring as the Tiger and one of the StuG's arrived. The Tiger moved with haste from the north and towards Grid 246 whilst the StuG took cover by the ruined Factory.
The 8 rad by the Warehouse reversed into the actual building. The other 8 rad closed in behind the forest, hiding from the T34.
The motorcycle team kept their position.
TURN 3 - THE STORM
Reinforcements for the Soviets were still slow, with another T34 arriving by the east road and a Strelkovy platoon.
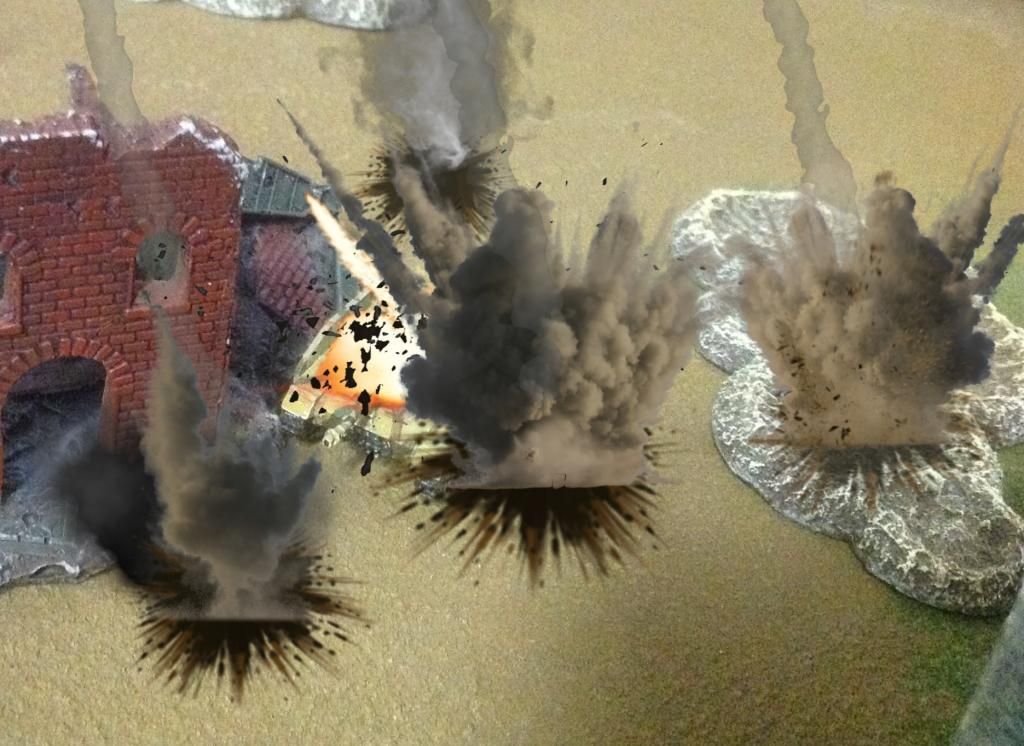
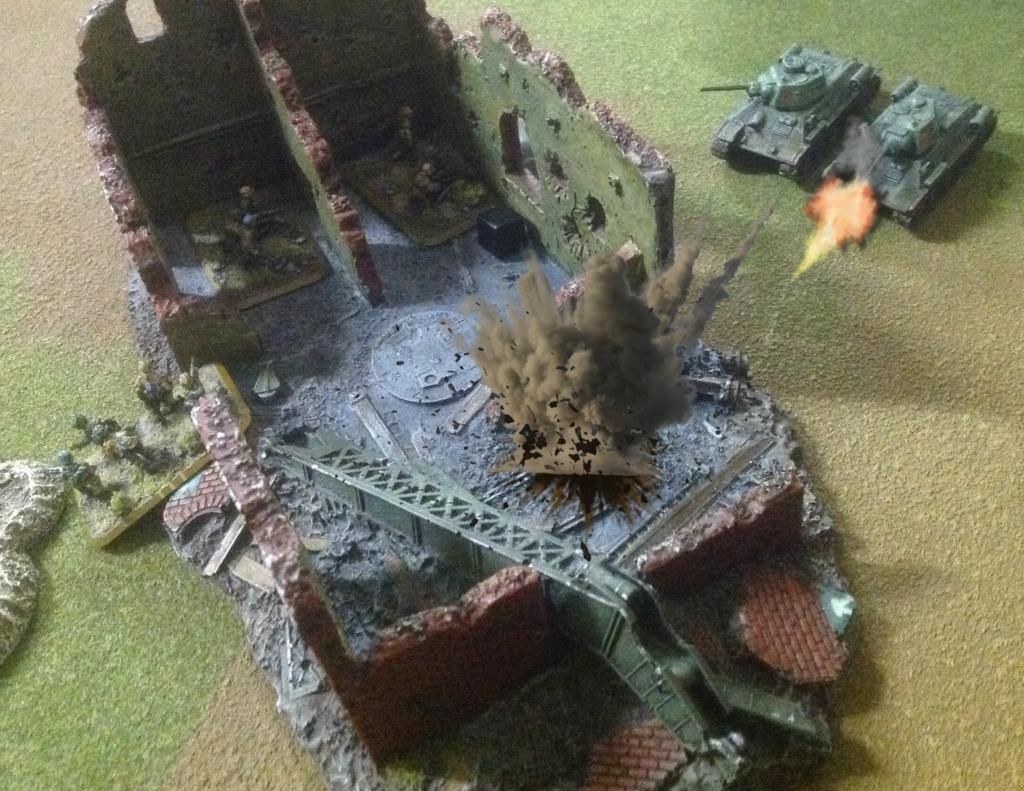
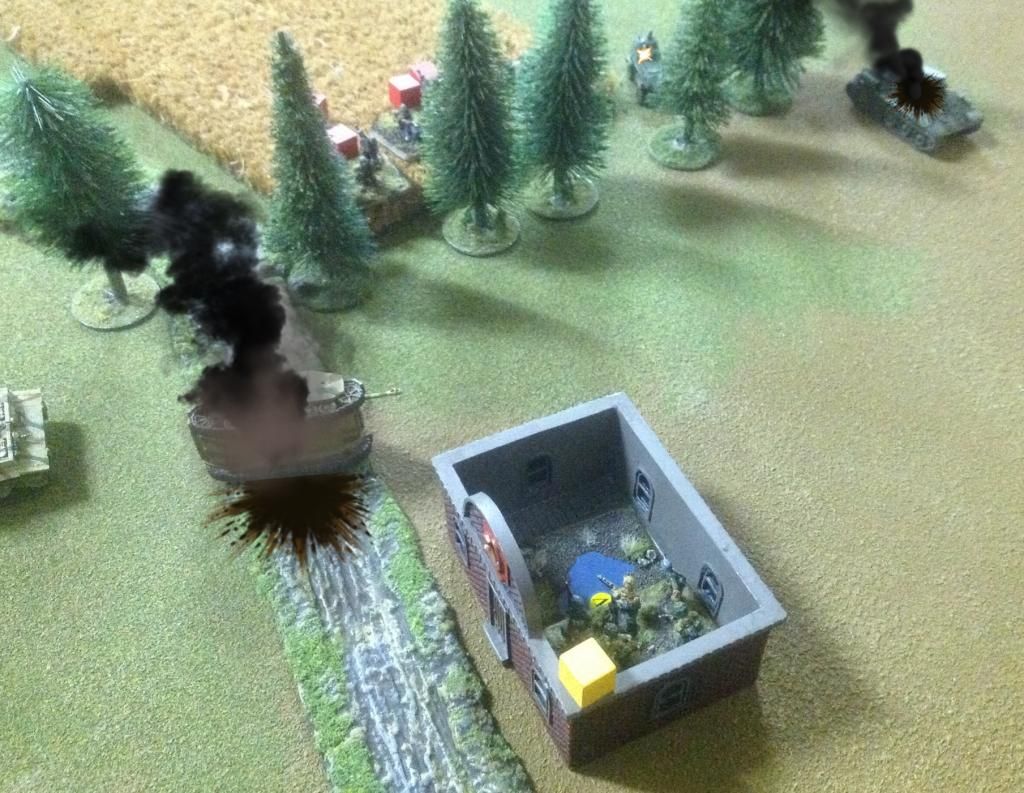
A distant whooshing sound became louder and turned into a scream, signalling the pre-designated Katyusha strike. The target was the ruined factory and the rockets smashed into the StuG and 8 rad by the Warehouse. A direct hit on the StuG saw it disappeared in a crack of explosions. The nerves of the 8 rad crew broke and they fled from the battlefield.
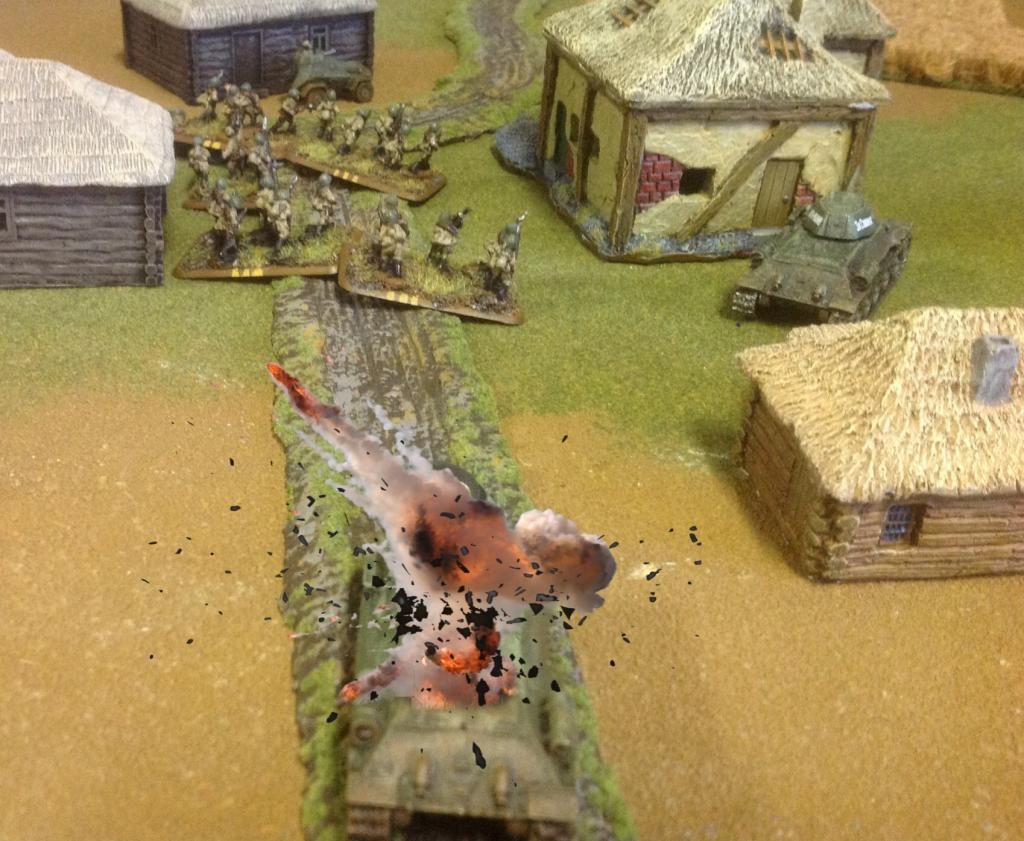
In a strange twist of fate, one of the BR counters received for the destruction of units was a Mine Strike. Starn used this in the newly arrived T34 and rolling a "6", the tank's turret blew off.
The first T34 fired off a shot at the Tiger and realising its lack of chance to destroy the beast, retreated behind one of the village houses.
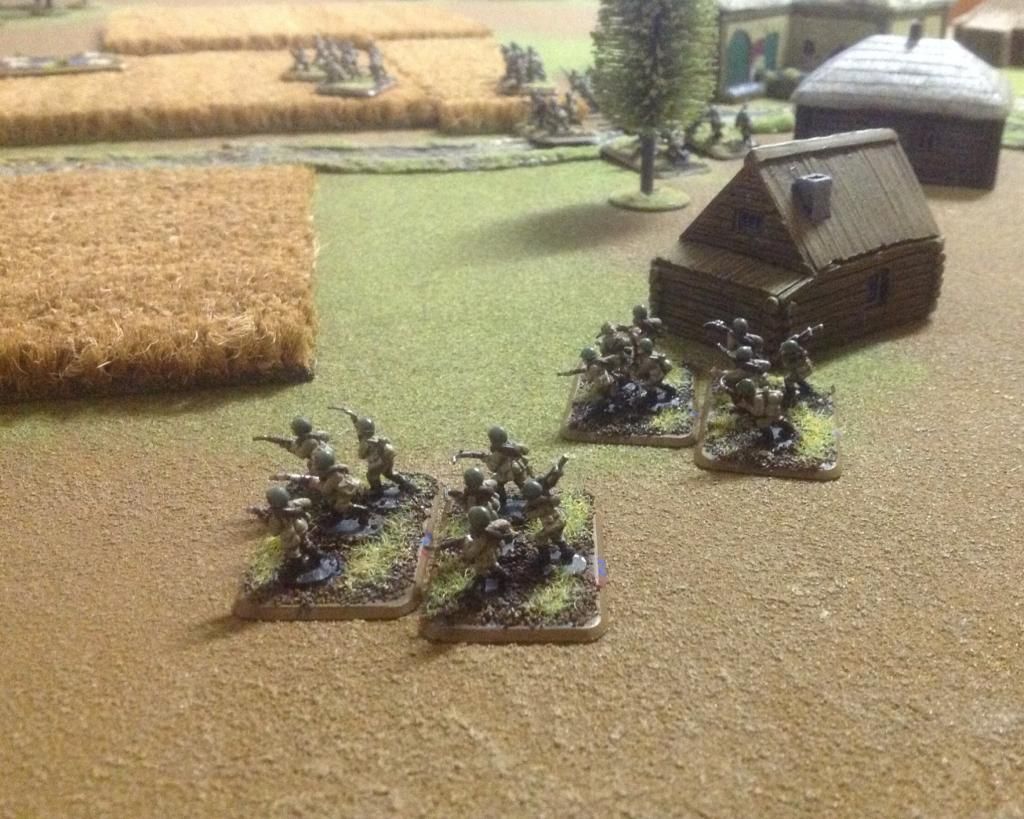
The Strelkovy marched through the village centre.
The second StuG arrived from the north, supported by a squad of Panzergrenadiers in their half track. They would advance towards the Tiger. The heavy tank, with no ripe targets went on overwatch (reserve fire, meaning it could interrupt and shoot at any time, including the Soviet's turn).
Also the German's Forward Observation Team arrived, using the Warehouse as cover from any potential enemy fire.
Finally, the Office objective was taken by the remaining 8 rad.
TURN 4 - PREPARE TO REPEL
The second Strelkovy unit arrived from the south and they quickly moved along this flank. One of BA-64 scouted ahead of them.
Meanwhile the first Strelkovy unit continued along the road, reaching the point near Grid Point 246.
The Soviets called in mortar support but the spotting round was very inaccurate and they called it off.
The second Gepanzerte Panzergrenadiers arrived but small number of available orders limited actions. The original plan to attack the village was no longer possible - there were just too many Soviets blocking their way. The Germans would try to dig in and repel the fast approaching Soviets.
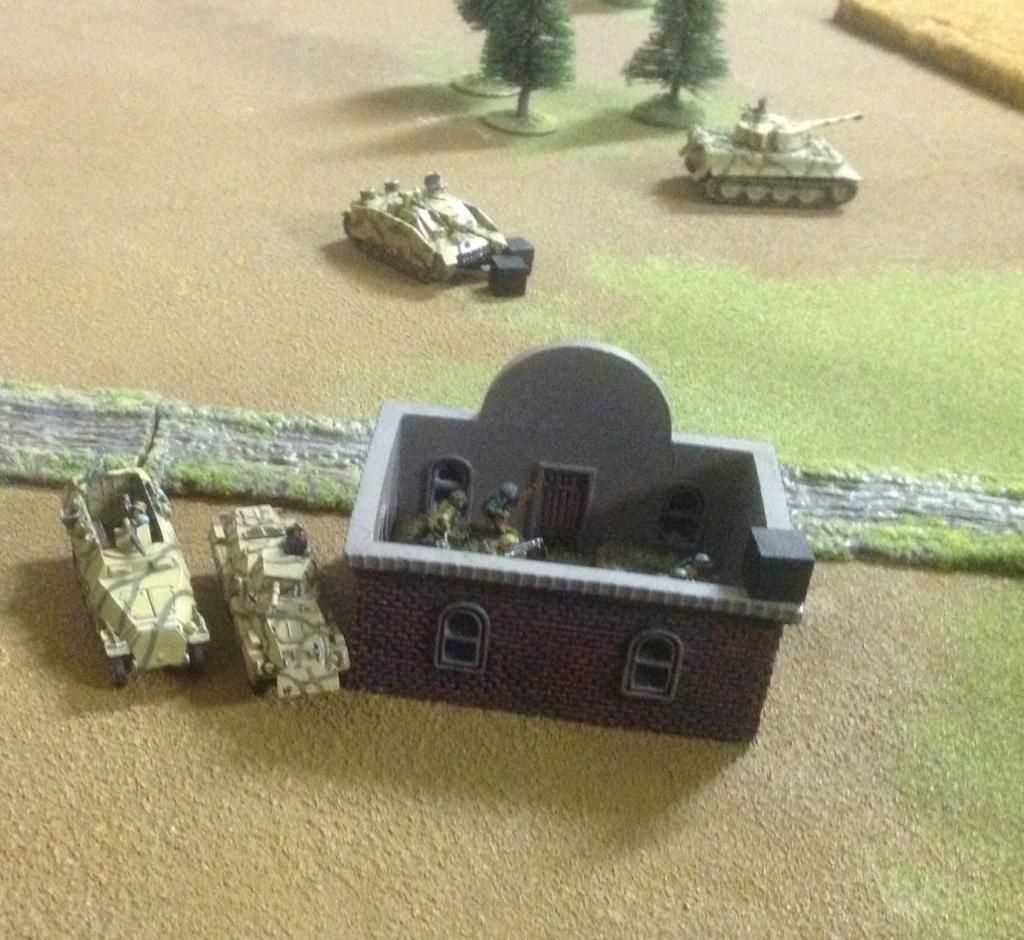
The first Panzergrenadier unit used their half track to get near the Office and took positions in the building.
The StuG drove forward, near the Tiger's rear and took a pot shot at the BA-64. At the considerable distance, the resulting miss was not surprising.
TURN 5 - RED ARMOUR
The last of the Soviet's reinforcements arrived in style - the four remaining T34's.
From the south, the squad of three fresh T34's rushed across and joined the advancing BA-64 and Strelkovy unit.
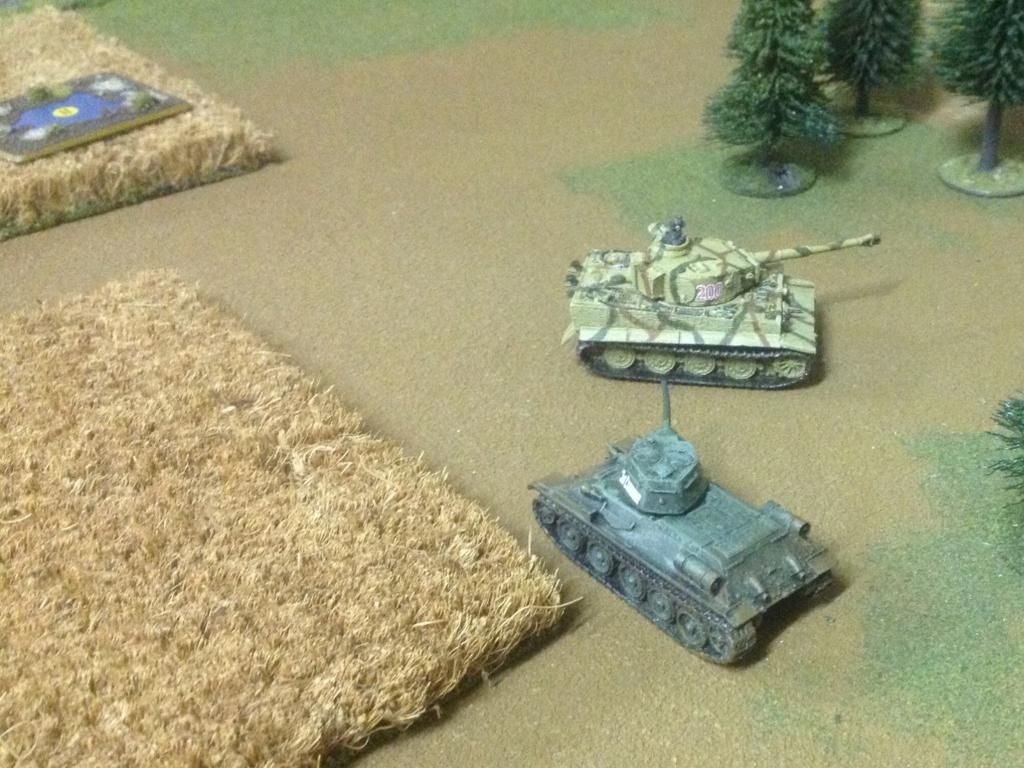
The other Newly arrived T34 drove past the its wrecked kin from the east to support the other T34. With two Soviet tanks pushing towards the Tiger, the Ace opened fire. Its first shot disabled one of the T34's.
The German's final reinforcements also arrived, being all units from the Panzergrenadier platoon. Two trucks laden with infantry arrived from the west and advanced towards the ruined Factory. The rest of the platoon arrived from the north. The platoon HQ section took a reserve move, as it wasn't clear where it would be safe to move to.
The StuG decided to go on overwatch, biding its time to engage the three T34 along the south once they were in the open.
The Panzergrenadiers squad in the Office opened fire, targeting the infantry advancing from the south and caused a couple of casualties. The MG42 team went on overwatch.
Despite the incoming armour, lack of orders by Starn meant that the half track and 8 rad sheltering by the Office could be in trouble shortly.
TURN 6 - FURY PART 1
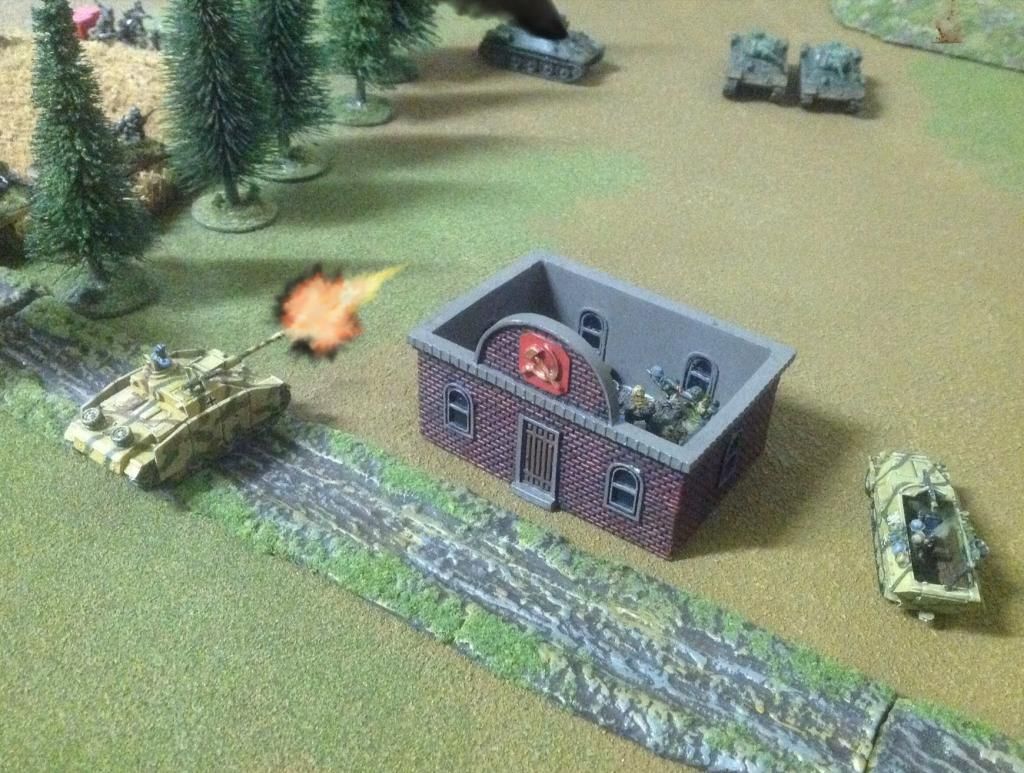
The three T34's ignored the Tiger and StuG and went for easy pickings - the half track and 8 rad. The StuG engaged the T34’s as they passed a corridor of opportunity and was awarded by a kill.
The other two Russian tanks proceeded forward. The first destroyed the 8 rad and the other failed to see the half track, despite being in the open. The BR counter provide possible air support for the next turn!
The sole T34 to the north ignored the Tiger tank and drove past it. It had its sight in the Panzergrenadier HQ unit. Using the reserve move order, the German officer yelled its driver to make for cover behind the warehouse, safe from the T34.
Advancing Russian infantry from the south carefully moved towards the Office and engaged the MG42 team without success. The Soviets were supported by units from the other Strelkovy by Grid Point 246, although they took heavy casualties by return fire from the MG42.
The Panzergrenadiers in the west were unloaded into the ruined factory and trucks started to retreat, along with the motorcycle reconnaissance team. The MG34 teams were in a good position to shortly engage the infantry besieging the Office.
The nearby StuG trundled forwards and engaged the two T34’s but failed to hit anything - a costly error.
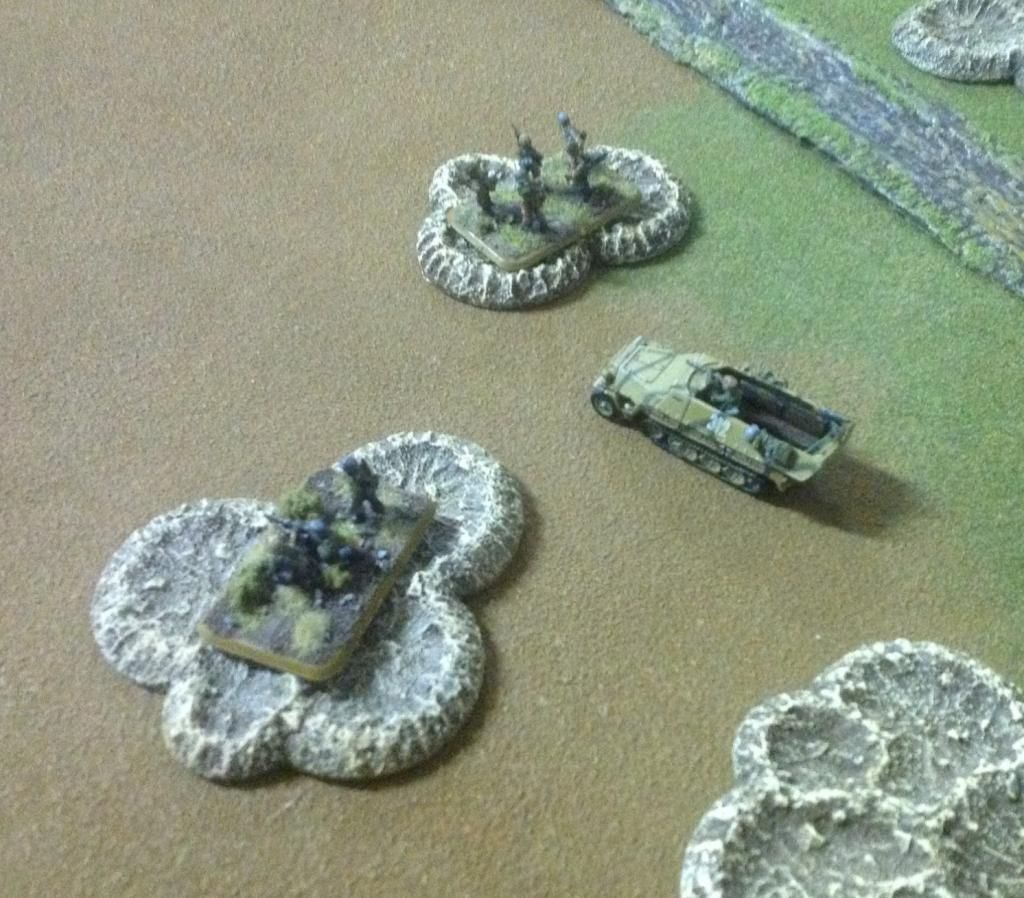
The other squad in the half tracks dismounted in front of the Warehouse, taking cover in the craters. The truck mounted troops nearby huddled around the back of the warehouse.
The Tiger Ace , ignored by the lone T34, drove around behind it and at point blank range... missed!
TURN 7 - FURY PART II
The Russian infantry and mortar fire continued to put pressure on the Panzergrenadiers, trying to pin them without success. More infantry from behind were closing in on the target position but the MG42 in the Office started to return fire.
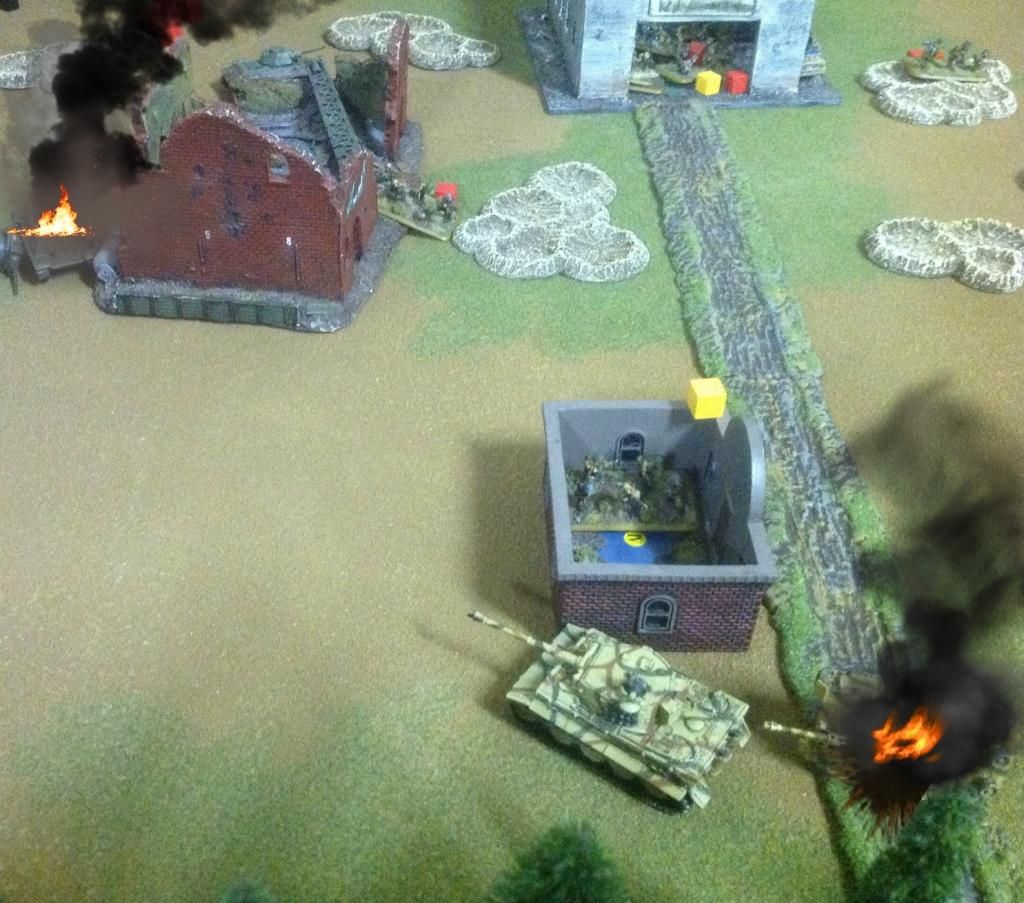
The two T34 in the south went about destroying destroying the StuG and half-track by the Office, being at the optimal range. The lone Tiger was now at threat from tanks at both north and south and more worryingly for the Germans, they had a mountain of BR counters.
The T34 in the north decided to take the opportunity to circle behind the Tiger. Unbelievably, the shot missed, mirroring the Tiger tank's performance the previous turn.
Most of the German infantry went on overwatch with hope to catch enemy infantry in the open, although the trucks and motorcycle team by the ruined Factory retired from the battlefield.
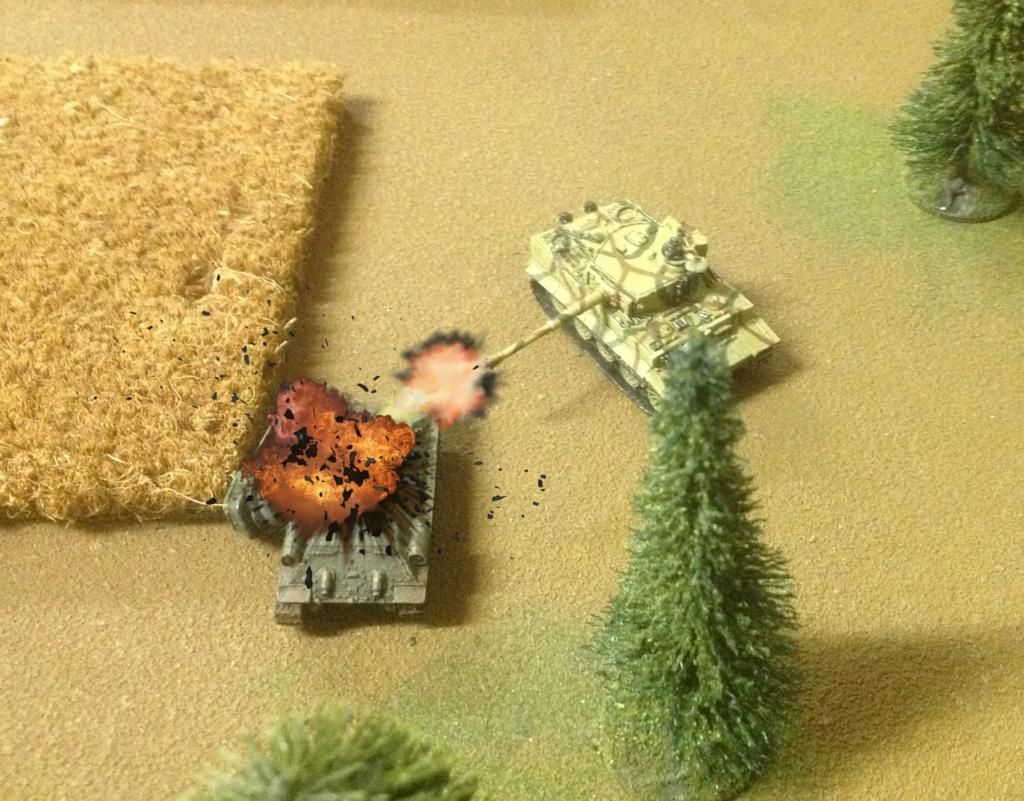
The Tiger's turret turned towards the lone T34 and at point blank range finally managed to destroy it.
TURNS 8 & 9 - TORRENT OF FIRE
Unknown to the Soviets, the Germans were 2 BR points away from breaking.
The next two turns saw a cat and mouse game between the T34s and the Tiger. The Russian armour used their High Explosive shells to blast away at the MG34's in the Factory.
One of the T34’s was ultimately hit with the Tiger's high velocity shell, silencing it. The other T34 used the ruined building as cover, concentrating on the German infantry.
The combined MG fire from the Germans was murderous, wiping out waves of Soviet infantry and the BR counters continued to mount.
One of the BR counters provided the Russians with an air strike, which was used against the Tiger. Despite the impressive amount of dice, none of the Shturmovik's rockets hit.
The Soviet's concentration against the Panzergrenadiers in the Office started to prove fruitful, and first the MG42 team was killed off. Luckily, the BR Counter gained was another possible airstrike.
Despite this glimmer of hope, a BA-64 lucky shots broke the morale of the Infantry squad in the Office.
This provided the BR counter that finally routed the entire German force.
The Soviets secured victory!
END GAME THOUGHTS BY CAILUS
I didn't go in the detail of how many orders armies received but I can tell you Starn's luck in this aspect as horrendous, with an average of 2 per turn. This made the planned advance of the armoured Panzergrenadiers impossible to eventuate. We didn't get enough orders to retreat the fragile units such as the 8 rads and half tracks and they were easy prey for the T34's.
Another issue for the Germans was picking up very high BR counters - we had acquired over 10 of the max 32 within the first two turns. Meanwhile the Soviets at the end of the game only gained two thirds of their maximum even though their force was ripped apart, having continually picking up the rare "1" BR counters. I calculated that we would have potentially wiped out the entire Soviet army before it would break!
Them's the breaks, they say. It was a great game though!
Thanks for reading,
Cailus
CREDITS
Miniatures and some terrain by Battlefront
Other terrain scratch built by Dead1
Russians painted by Dead1, Germans by Cailus
Writing, photography and post-production by Cailus