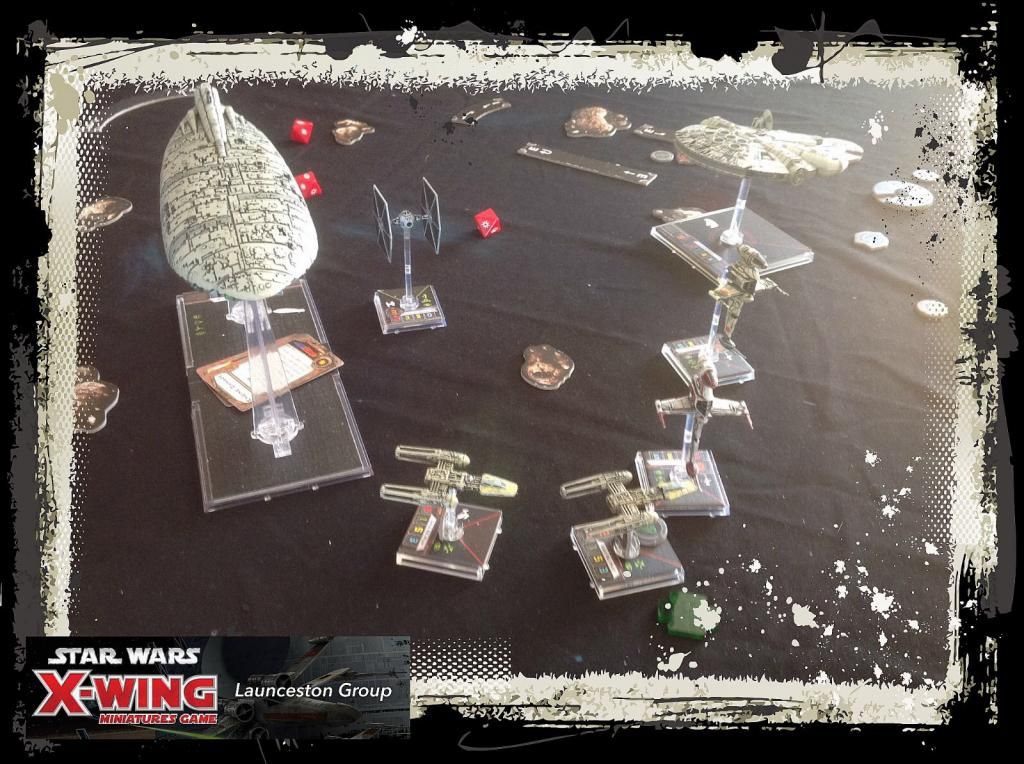
Last Sunday, Rob, Jonno and I had a 400 point pitch battle game. I took lead of the entire 400 point Rebel force whilst Jonno and Rob had 200 each.
The Rebels fielded an array of ships, with the only type missing being the A-Wing. The pilot skills ranged from cheap X-Wings and Y-Wings to mid-levels such as Chewabacca in the Falcon and Etahn in his E-Wing, to the likes of Ten Numb in his B-Wing. Their support included Jan Ors in the Hwk290 and the Rebel Transporter (A Bright Hope), which I had yet to use ever! With no guns, I planned to use it as a steam roller with no regard for its survival. Click here for my list.
The bulk of the Imperials included a number of TIE Defenders and TIE Fighters (which with Pilot Skill 3 went before the Rookie X-Wings and Y-Wings), a two flight TIE Bombers squad equipped to the hilt and experienced Pilots, Carnor Jax in his Interceptor, a low level pilot in the Firespray and a very dangerous TIE Phantom.
TURNS 1 AND 2
The first turn saw all except the TIE Bombers race across the board. The Rebels were not as aggressive with a slow orchestrated advance, mostly to juice up the Transporter with Energy.
The second turn saw the lasers criss cross and the destruction started. The Rebels continued their slow advance whilst the Imperials had a mix of movements.
Jonno saw fit to keep the Bombers right behind and out of the fight for now, much to the annoyance of Rob. Especially so when Rob rushed Carnor Jax in front of the B-Wings and A Bright Hope, trying to use Jax's ability to reduce the B-Wings' effectiveness, all to a waste as they were out of range from anybody else. Trying to barrel roll out of the firing lines, Jax instead put himself into a position where he was run over and destroyed by the Transporter!
The X-Wings took a battering and one of their number was destroyed. The shields of the Defenders and Firespray reduced the impact of return fire.
Meanwhile on the other flank, the TIE Fighters and Phantom peppered A Bright Hope, stripping its shields and damaging its engines.
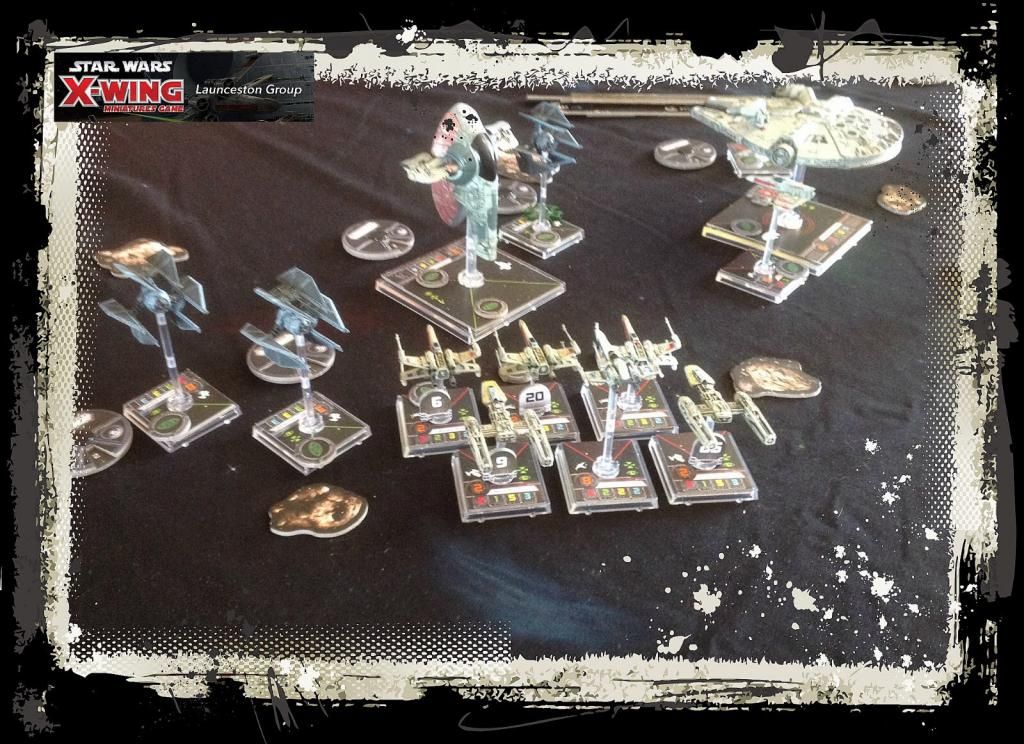 |
| It's about to get messy... |
TURN 3
This turn saw an interesting move by my Rebels. I used up the one-off abilities of Carlist Rieekan, meaning that for the activation in this turn all my ships would act at pilot skill 12 (hence last and in whichever order I wished. However the shooting phase removed in normal pilot order). I also activated Leia Organa's one off ability as well, meaning I treated all red manoeuvres as white (i.e. no stress and could allocate actions normally).
After the Imperials all moved, the X-Wings and Y-Wings performed Koiogran Turns. Their leader, Airen Cracken in his Headhunter, couldn't make it fully and was stuck. Finding himself surrounded, he was subsequently destroyed. However the return fire of his comrades caused plenty of damage back to the Firespray. Etahn and the Falcon joined in the fight and destroyed it.
Importantly, A Bright Hope used its Jamming function to put two stress tokens on the Phantom. With the abundance of asteroids around, it would take the Phantom most of the game to get back into the fight!
The TIE Bombers zoomed forward towards the Millennium Falcon in the centre. Their payloads of standard and advanced proton torpedoes were extremely dangerous. However the B-Wings made short work of Major Rhymer. The other TIE Bomber bided its time - it had a lock on the Falcon but would want to wait until next turn to truly cause havoc.
The TIE Swarm and Phantom continued to blast away at A Bright Hope, causing heavy damage.
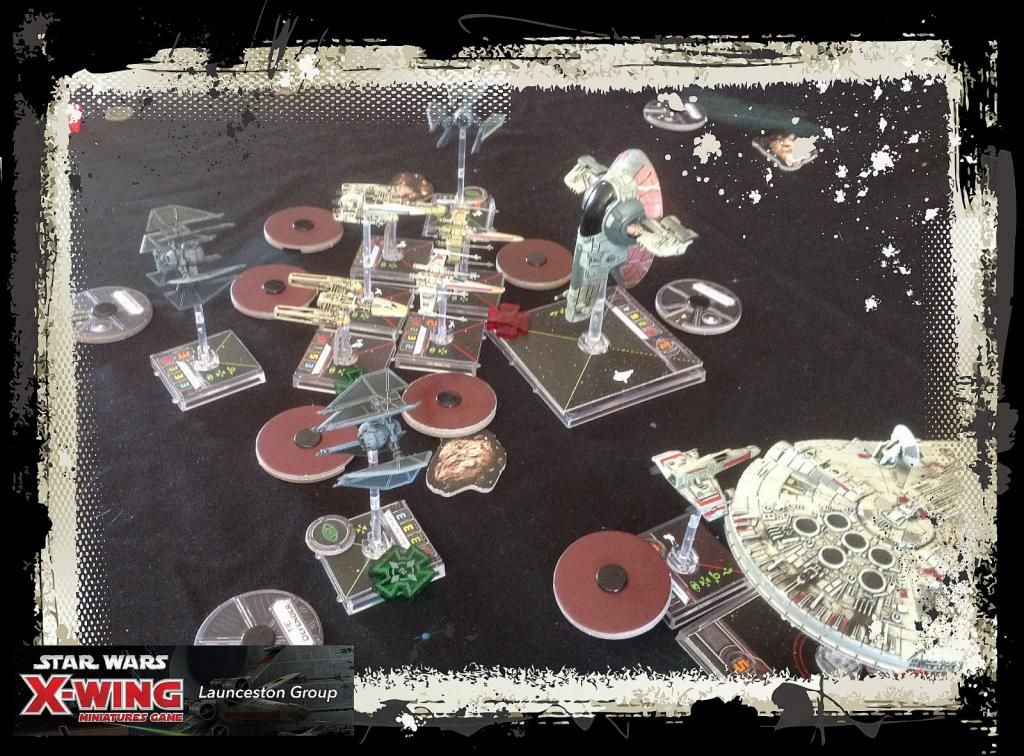 |
| The Imperials in the left flank are put into disarray after Rebel's trickery! |
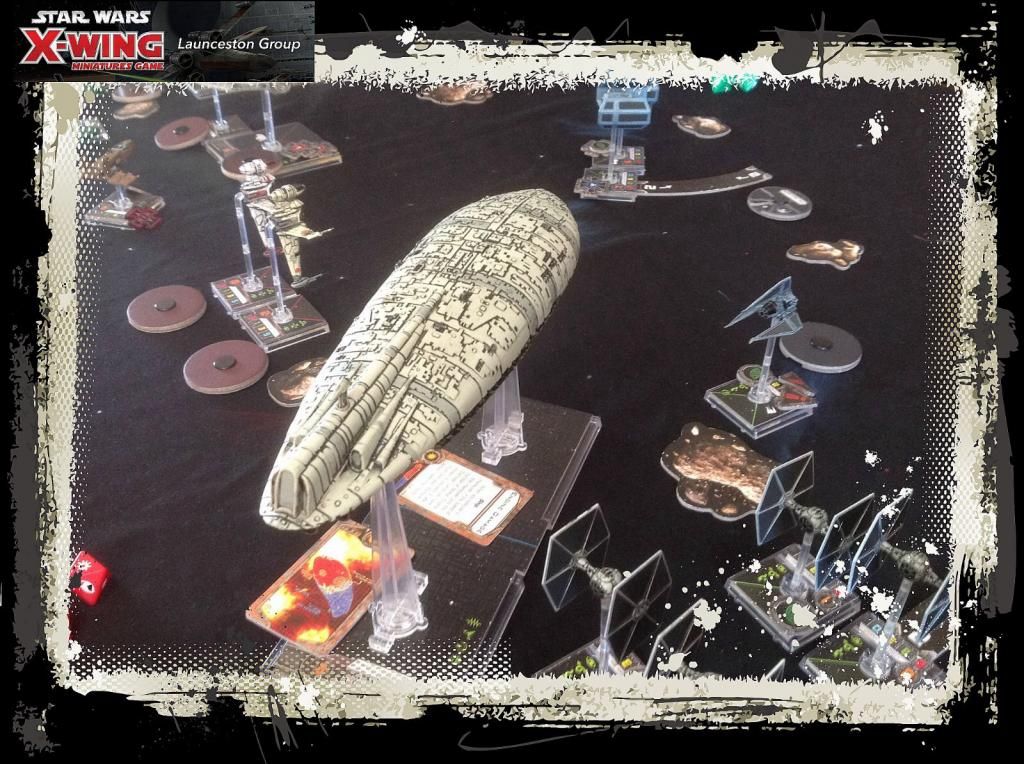 |
| A Bright Hope sustains heavy damage |
TURNS 4 AND 5
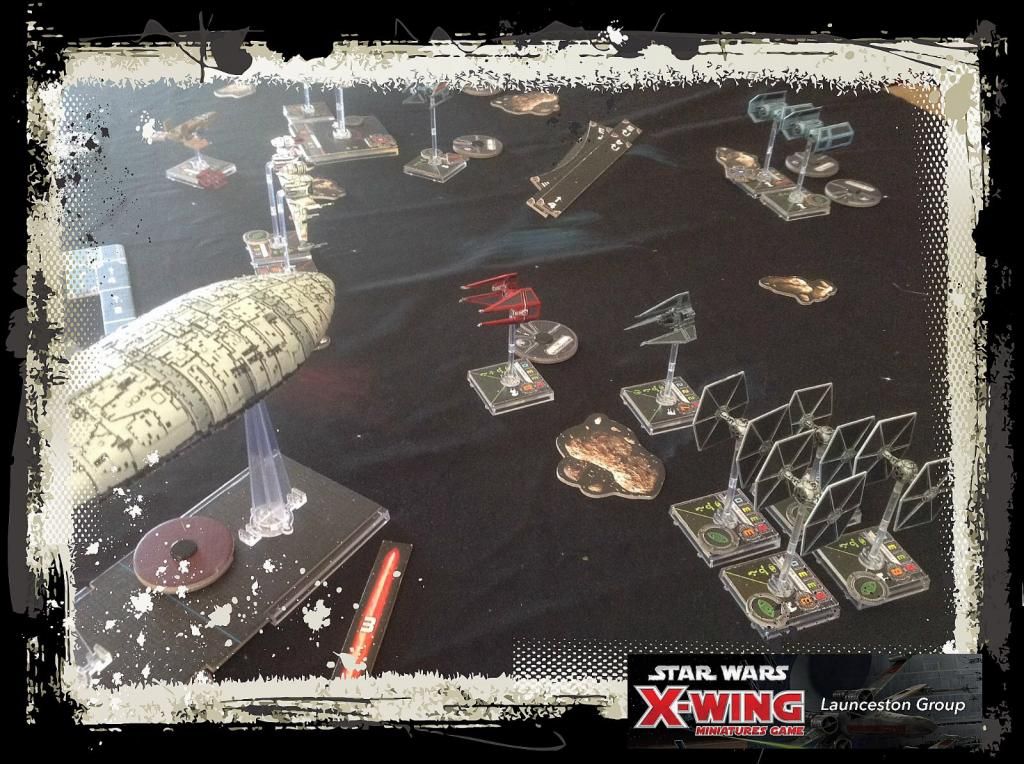
The following two turns saw the Phantom struggle to get back into the fight and the redeploying of the TIE Fighters, perhaps due to the risk of being run over by the Transporter. A Bright Hope listed lazily to the left and did what it could to restore its shields. The effect of the Y-Wing's Ion Turrets had started to affect the Imperial positions, reducing their effectiveness. Although the TIE Bomber would appear to be finally in a position to unleash its Advanced Proton Torpedo against the Falcon, I pulled my nasty trick of Expert Handling, losing the lock on and shifting outside the firing line! After its paltry primary weapon fire, the B-Wings, E-Wing and Falcon destroyed the Bomber.
 |
| Things have turned bad for the Imperial forces! |
TURNS 6 AND 7
This part of the space battle saw the last push for the Imperials to strike back but to no avail. The X-Wings and Y-Wings, supported by Jan Ors slowly wore away at the Defenders, as the Ion effects continued to sap their manoeuvrability. The TIE fighters engaged once more but their formation was broken up by asteroids, reducing their punch and one by one they were destroyed. A Bright Hope continued its repairs but it was becoming more of an annoyance to the Rebels than anything else. It did however run over a TIE Fighter and nearly the B-Wings.
The Phantom destroyed Etahn A'Baht, its first kill. However it was too little, too late.
THE LAST TURN
Turn 8 turned into a mop up operation - Jonno did what one must never do with a Phantom - a K-Turn. This was a stressful manoeuvre, meaning it could not cloak for free after it shot. Subsequently, it was butchered by the Y-Wings and B-Wings.
With only a single non-named TIE Fighter alive, the end was called.
A BRIGHT HOPE
A good game as always. The Transporter was a bit of fun and at 60 points, having eaten Carnor Jax, a TIE Fighter and putting the Phantom out of the game for a long time, it paid for its points!
I did have the advantage that I controlled the entire Rebel side, meaning the chance of miscommunication was nil, whilst Jonno and Rob could not coordinate their forces to full effect. Payback was in order though as last time my Rebels were smashed apart.
Best out of three then?

No comments:
Post a Comment