
Dead1 took control of the Taliban, supported by Chechen jihadi's, whilst I and another mate, Codename Danger Mouse, took command the AUS/US coalition.
What follows in the After Action Report, nicely written up by Dead1.
A combined team of US Special Operations (ODA) and Australian SASR operatives were assigned a mission to capture a High Value Target (HVT) in Chora District in Urozgan when they encountered a well executed sniper ambush. Three special operations operators were wounded by fire from three separate sniper nests. Later analysis revealed the presence of Chechen fighters.
Due to poor weather conditions, air support was cancelled, though the Australian protection detail was dispatched via Bushmaster IMV.
The operatives took cover in a compound but were unable to retrieve the three wounded of the ODA team. The SASR quickly set up a sniper position with an M107 Barrett anti-materiel rifle and successfully engaged and neutralized two of the enemy teams whilst the ODA neutralised the third one. The Special Forces acted with great efficiency as neutralizing the Taliban quickly was necessary to evacuate the three wounded ODA members.
Despite the sniper teams being neutralized relatively quickly and efficiently, their actions allowed the Taliban to funnel additional troops into the fray and place pressure on the allied special forces operators. One of the ODA fireteams managed to cross the street while under fire and clear one of the Taliban rallying points, neutralizing a number of Taliban in the process.
 |
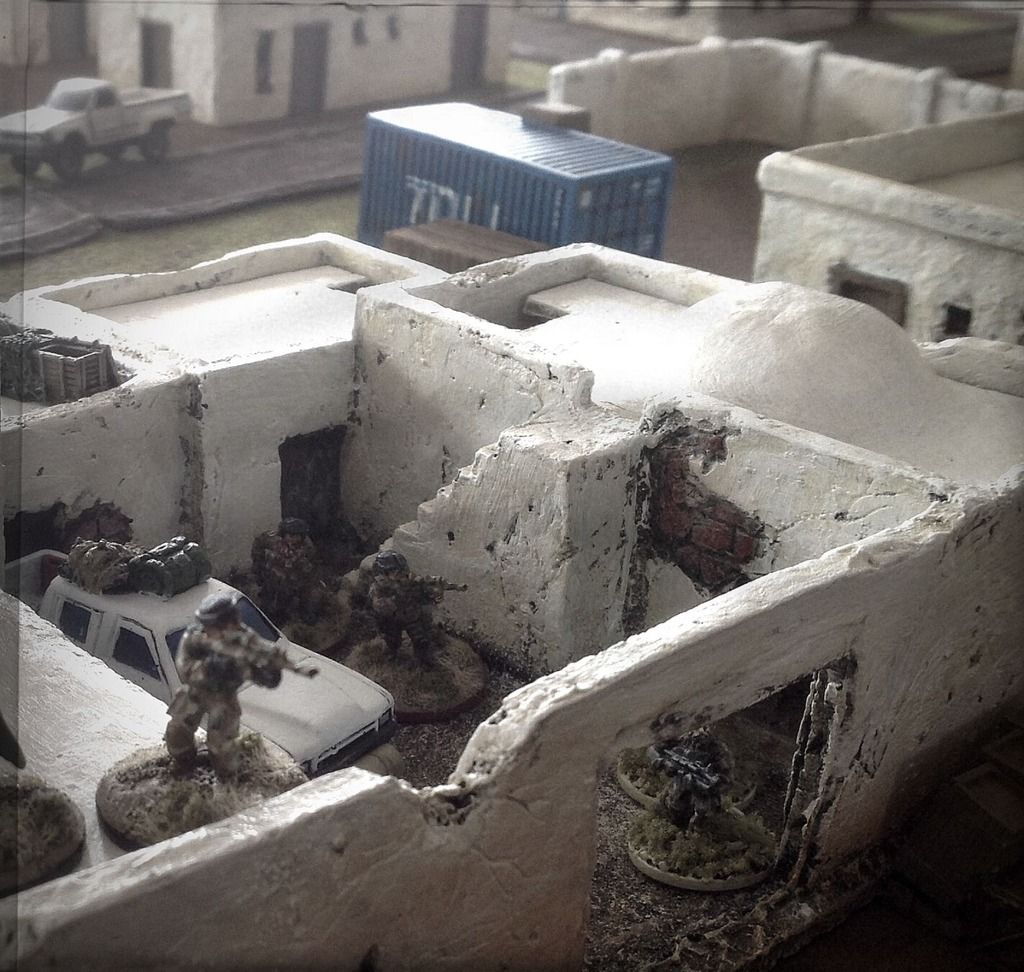
| Three ODA injured during the initial ambush. Await CASEVAC! |
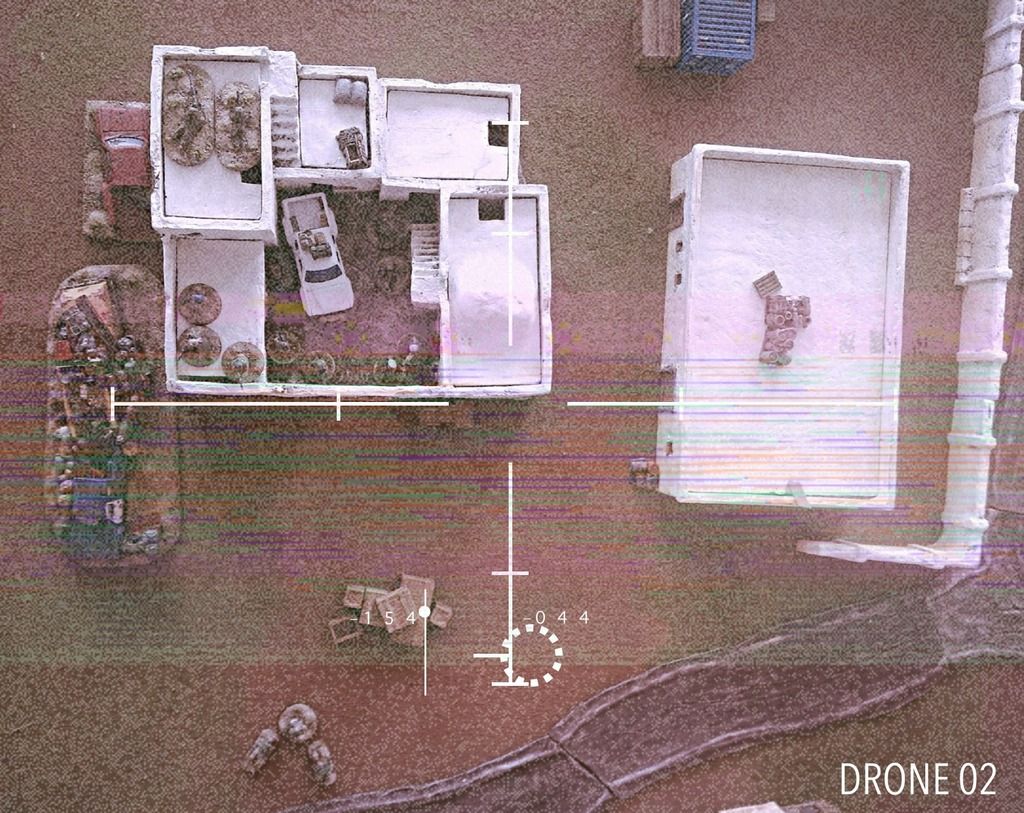 |
| Overhead Drone view of Compound. WIA's to the south. |
 |
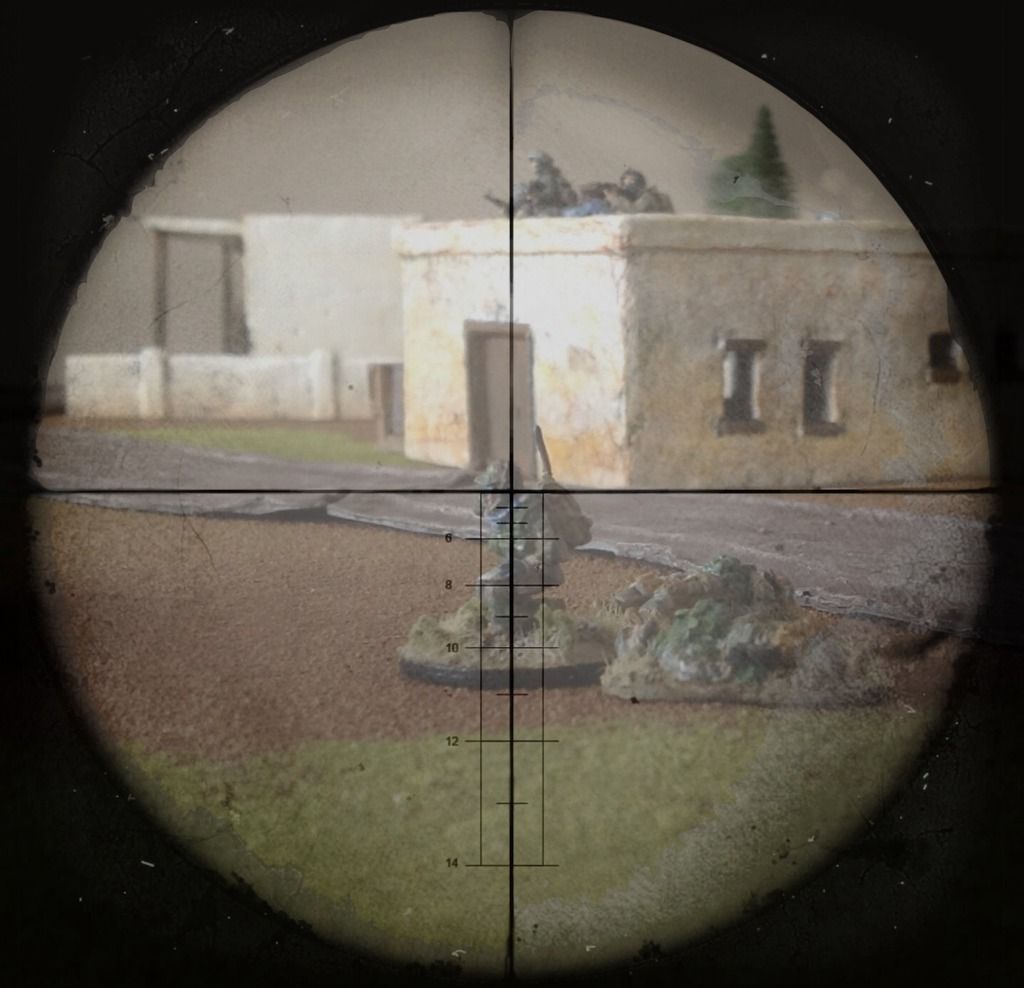
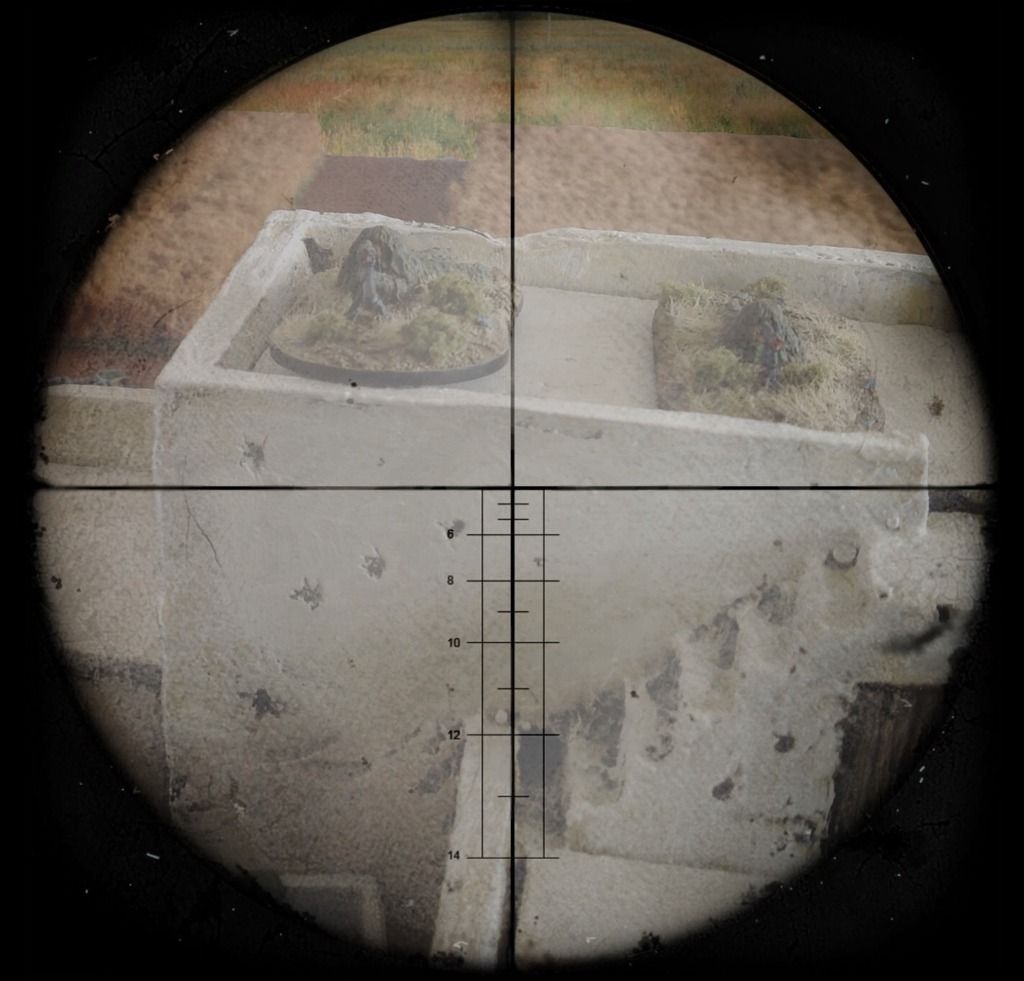
| Coalition forces scan for the enemy snipers |
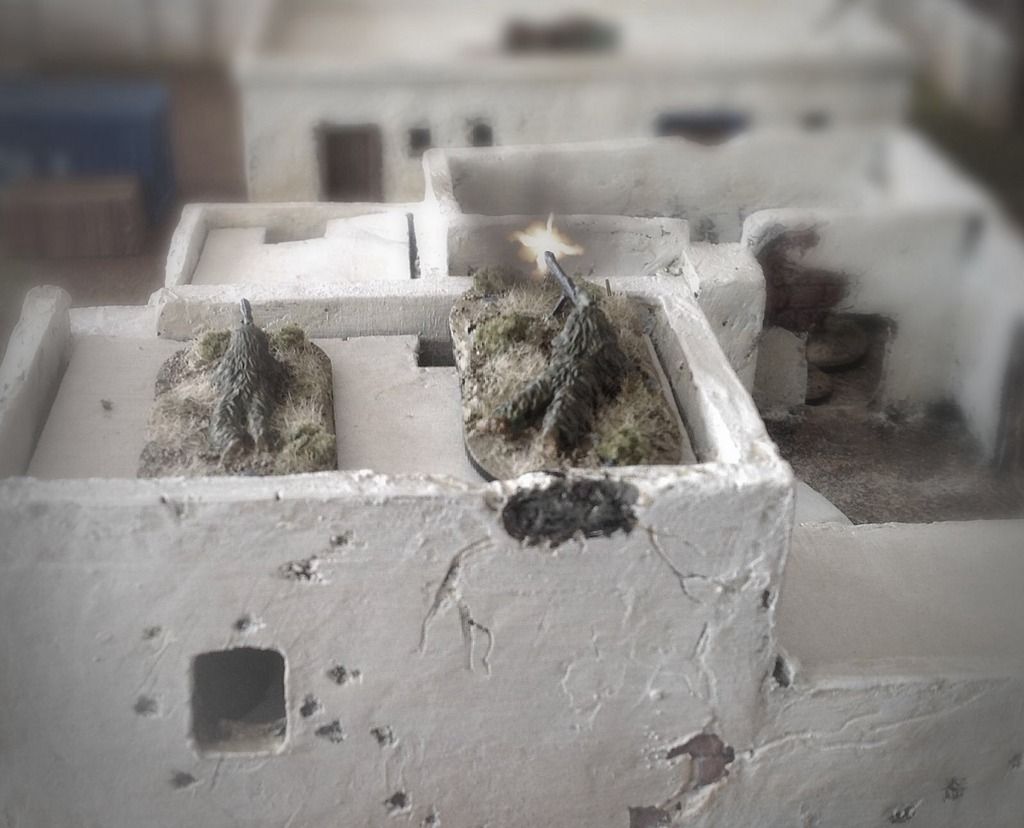 |
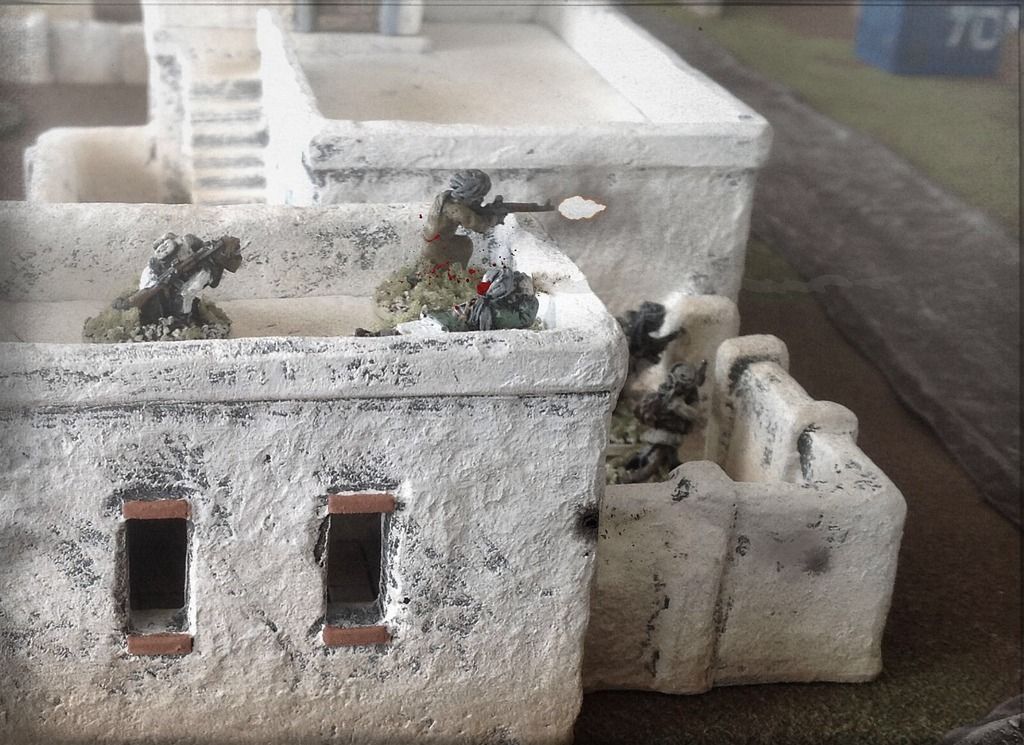
| SASR sniper team spots and engages hostile snipers |
 |
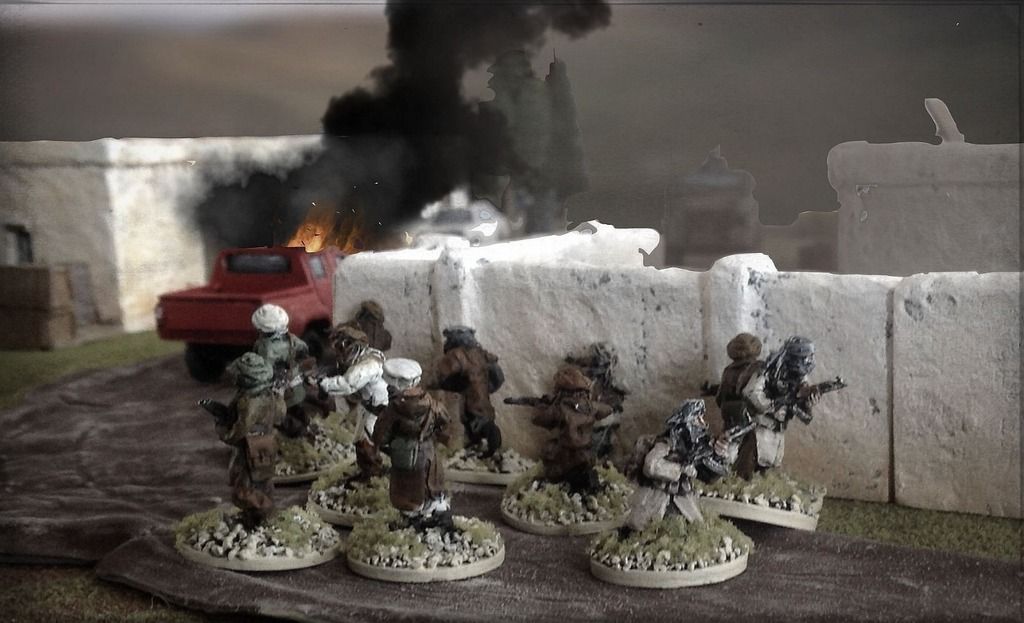
| Taliban Sniper team take heavy fire |
The Taliban were hampered by their inability to coordinate their troops. They arrived piecemeal and often milled around ineffectually without contributing to the fighting. Some of the ODA sustained light wounds. The superbly trained an experienced SASR sniper team dominated the battlespace inflicting many Taliban casualties.
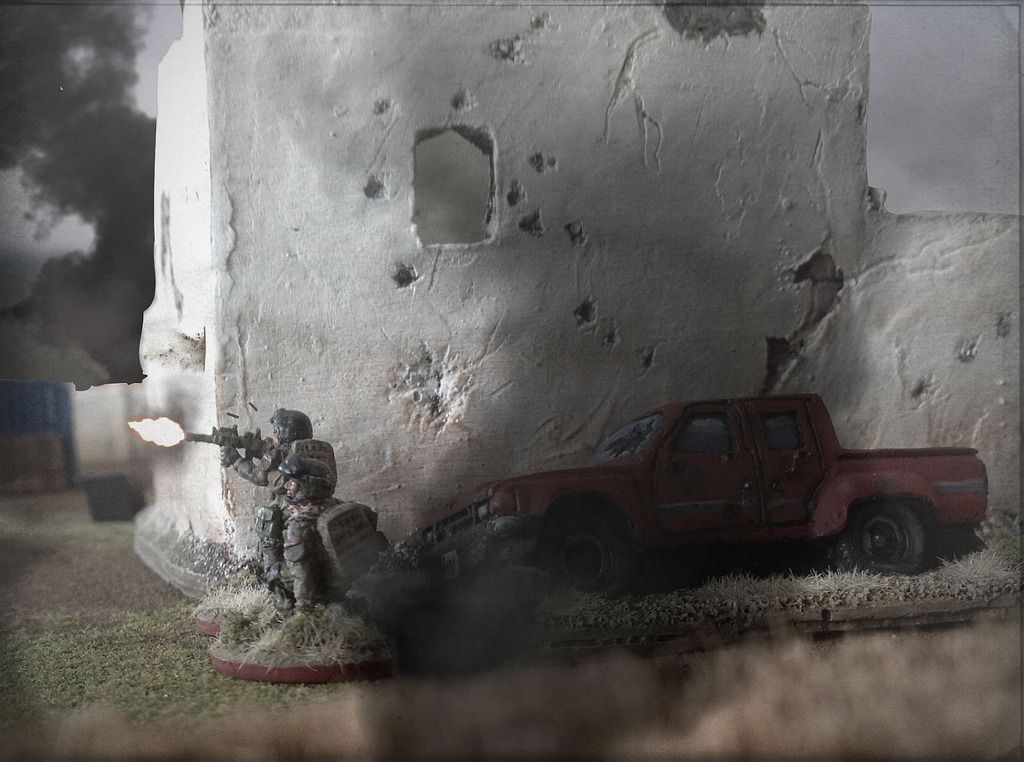
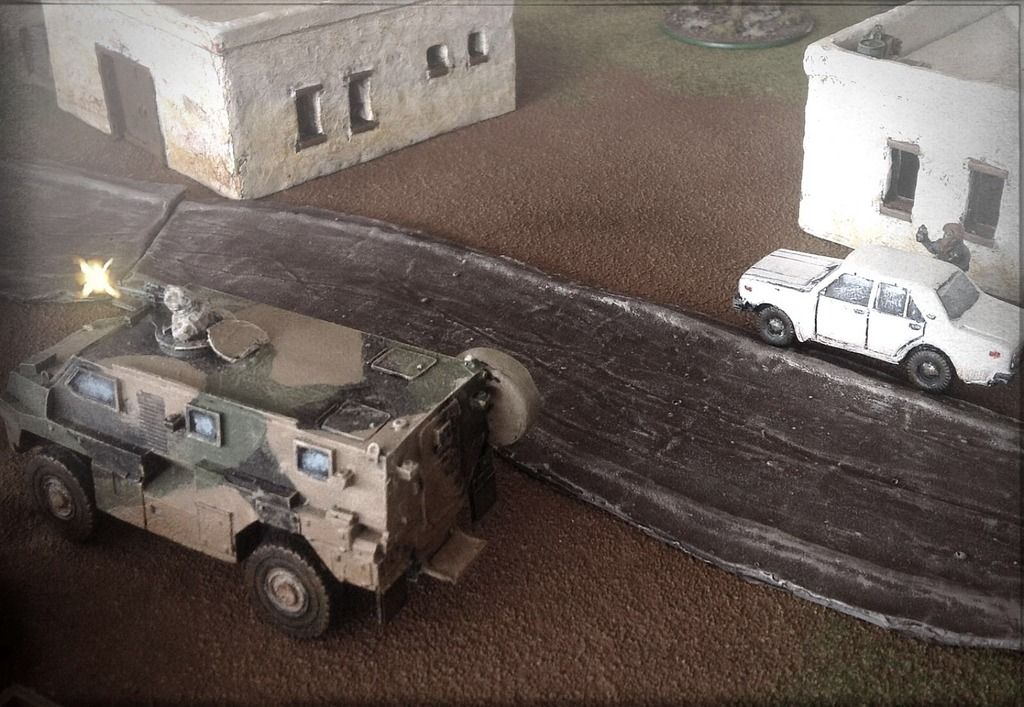
Ever desperate to press the attack, the Taliban rushed the Australian position with a technical though this was neutralized by a well placed .50 calibre round through the engine block whilst the spotter took out the driver with his SR25.
However in the fighting a number of civilians were caught trying to escape the firefight and a child was wounded by a stray round. The ODA team that had redeployed courageously acted to provide aid to the civilians. This was the break the Taliban were waiting for and in a display of excellent marksmanship killed Sergeant Major Charles “Chuck” Orris and seriously wounding two others.
It was at this point the first Bushmaster IMV appeared to casevac the wounded men. The Taliban attempted to detonate an IED under the Bushmaster but were dispatched by the vehicle’s commander. However the elite Chechen sniper team continued to wreak havoc, wounding a number of ODA as well as the SASR special operations team.
The failure of the mission was assessed to poor intelligence and too routine nature of deployments in the area that meant the Taliban were able to predict the special operations and prepare a well placed ambush. Of note was that it was clear that the three sniper teams initially used in the ambush were a rouse. The elite sniper team that killed Sgt Major Charles Orris and wounded several others was never discovered but interrogation of wounded Taliban indicated the men were Chechens. They were unfortunately not found but it is clear they were extremely capable and well trained.
 |
| SASR Security team advances to secure nearby house |
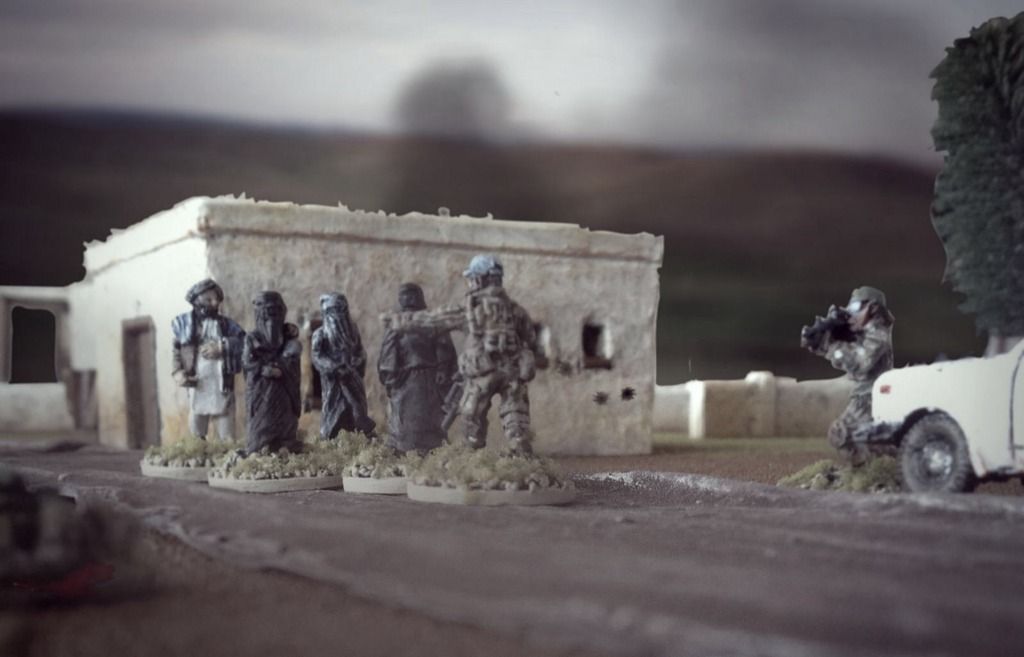 |
| Orris provides medical aid to injured civilian, despite danger nearby |
 |
| Despite their considerable losses, the Taliban continue to attack |
 |
| CASEVAC arrives, but moments later ODA engaged by unknown sniper |
 |
| The SASR also are wounded by the unknown hostile Sniper |
 |
| IED Trigger man spotted just in time to be stopped. |
Points:
Taliban 17
(Caused 3 x WIA and 1 KIA. This excludes the initial WIA's on mission start)
ISAF 20
(Eliminated 3 x Enemy Sniper Teams, Extracted WIAs)
DEAD1'S CLOSING THOUGHTS
A hard one for the insurgents. The D12 allied sniper team with the Anti-Materiel Rifle simply dominated the game with 8 starting shots. Every time that two man team fired, a unit of Taliban disappeared. They quickly discovered the Taliban sniper teams, thrashed them and then proceeded to take out whatever blobs of men the Taliban managed to roll up on the random reinforcements table.
There was an amazing number of Fog of War cards throwing all manner of carnage into the fray - the ISAF got amped up but lost air support, the Taliban got civilians, a technical and an IED as well as the near game winner - a pair of of offboard snipers dishing out 5D10 shots a turn. They were untargettable and simply smashed Special Operations units including the mighty D12 SASR sniper team. Without them the Taliban would've been stuck with 3 points, not 17!
But that made up for the fact that the Taliban were unable to muster forces and what came often didnt activiate due to being Leaderless.
Need to try this scenario out some more, but we think that maybe making all the Taliban sniper teams D8 and maybe reducing the alied D12 unit to D10 might balance it.
All in all a great cinematic game with all the trappings of a Holywood war flick!
CAILUS' THOUGHTS
Up until the arrival of of the "real sniper", it was all going swimmingly well. The rush for a hotspot by Team Chuck (led by Charles Orris) paid off as it stopped from two insurgents popping up on the flank on future turns. The small two man SASR security team were also going to remove a hotspot but they were a turn late as a large mob of hopped up martyrs arrived so the Aussies had to retreat.
As Dead1 noted, the elite Barrett Team was simply devastating. It took out perhaps two dozen insurgents, most of the enemy sniper teams plus a technical. Only a run of bad dice against the enemy's off-board sniper saw them finally knocked out but only on the final turn.
This scenario truly showed the smart game mechanic for Fog of War cards. The lower the quality of the troop, the more likely they'll trigger it. Despite some of the cards having negative effects, there is plenty of good one that as seen, can change the game.
This makes up for the horde of D6 quality Taluban dying in droves!
No comments:
Post a Comment