
Last Thursday at our club Doug bought in his 15mm D-boys and al Qaeda. As I had played Scenario 1 the week prior against dead1, Doug suggested Scenario 2 from Enduring Freedom - "Black Dust".
Two teams of elite Delta Operators (D12/D12) are tasked to engage and eliminate a HVT (High Value Target) - this being Osama Bin Laden himself! It won't be easy as the HVT is protected by trained Black Guard forces (D8/D10) and his personal bodyguard (D10/D10). Delta has only 6 turns to finish the job but thankfully do have air support.
After randomly rolling to see who would take control of what force, I set up my al Qaeda and waited to see what Doug's Delta wold do.

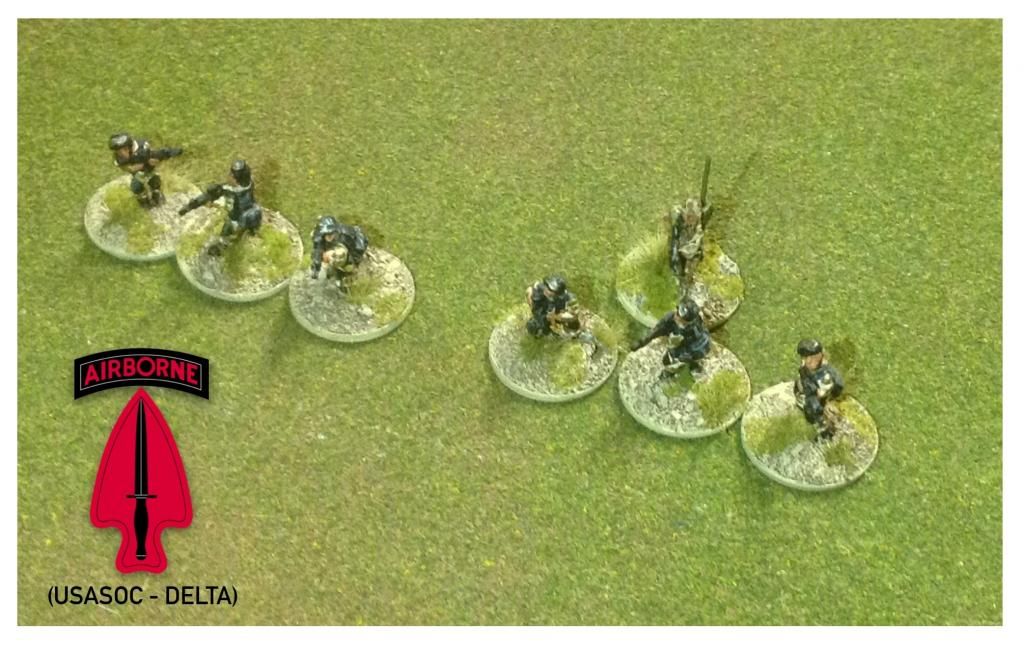 |
| 15mm Delta Force, painted by Doug Colbeck. |
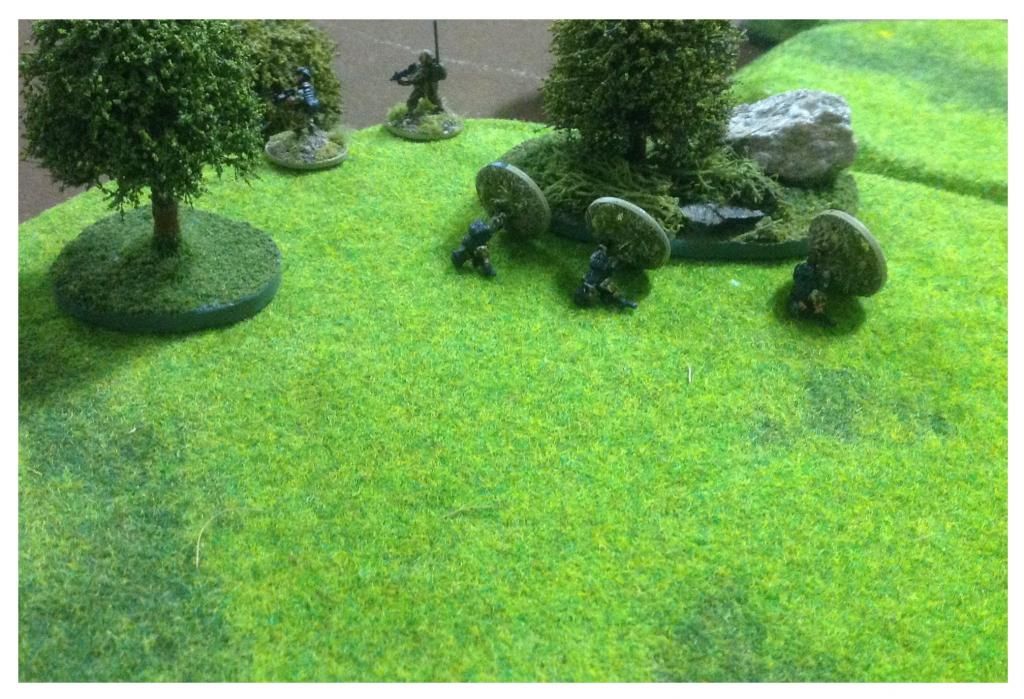
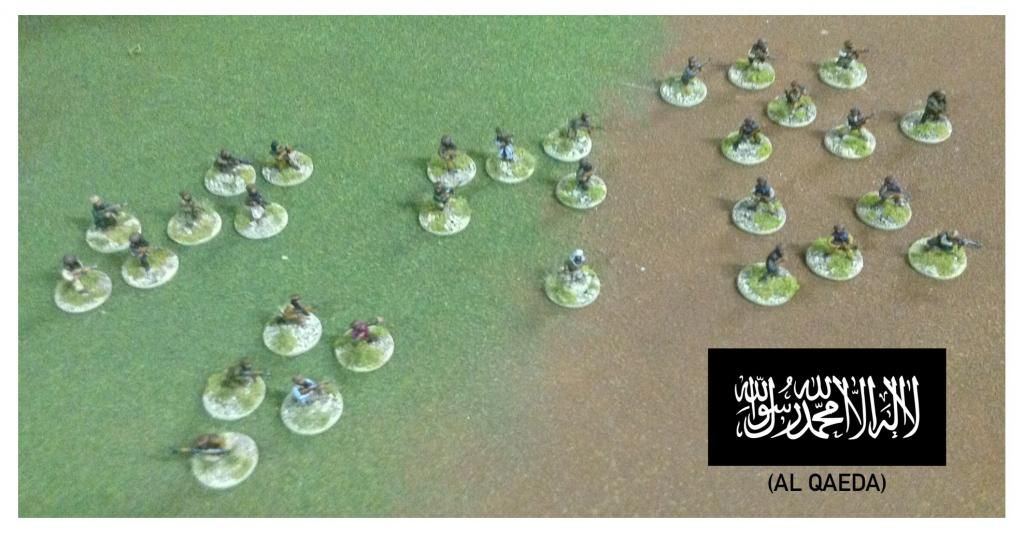 |
| 15mm al Qaeda troops, painted by Doug Colbeck |
TURN 1
Delta has initiative. The two teams advance rapidly along the hill on the left flank but keep clear from enemy sight.
The al Qaeda troops mostly hold their positions except for the small cell on the far left which leaves the safety of its hovel and approach towards Delta - they go to investigate reports of incoming U.S. troops!
The HVT, having finished talking with a villager, meanders to the centre of the village, his bodyguard detail in tow.
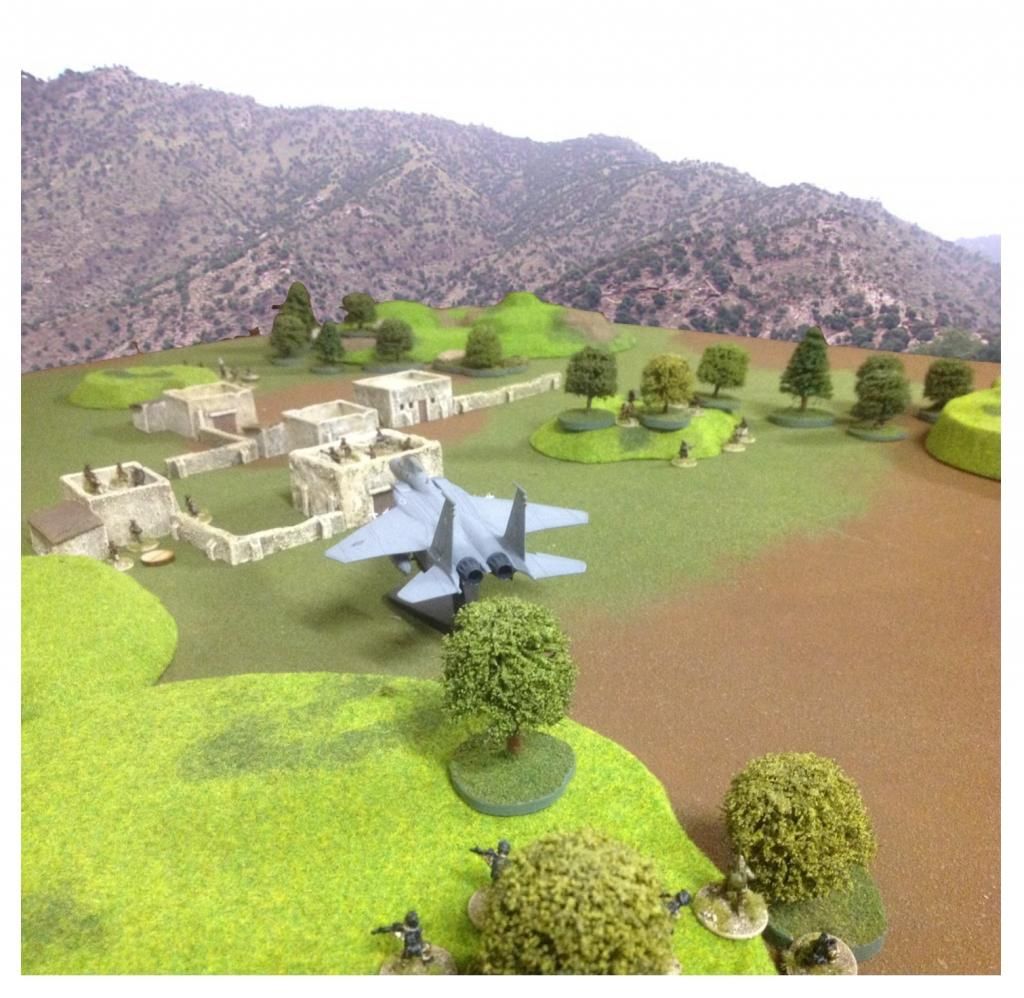
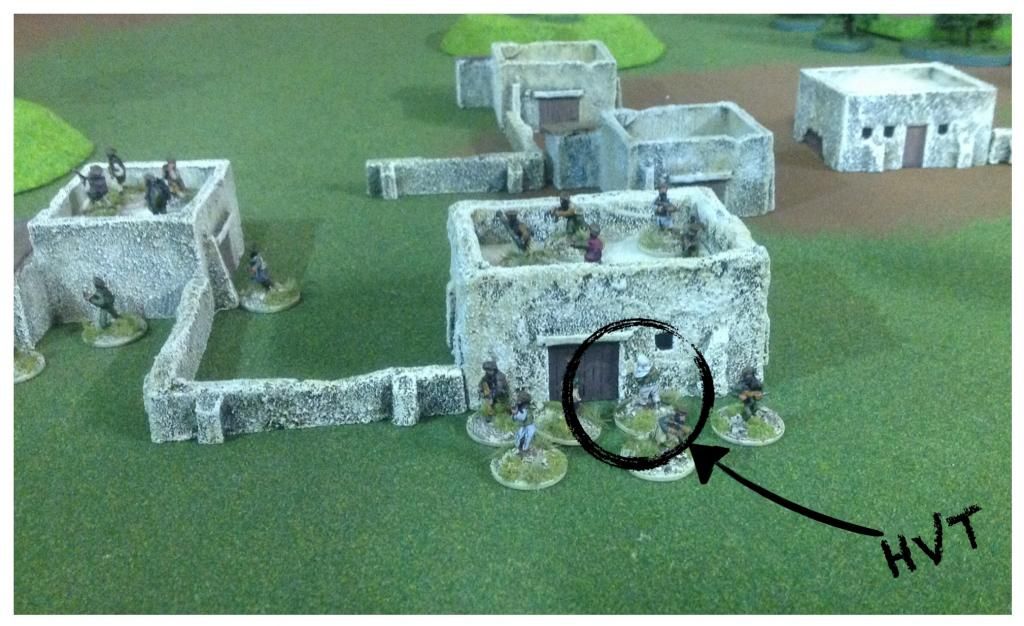 |
| Bin Laden is in sight! |
TURN 2
Although Delta has two D12 dice, al Qaeda win initiative with their three D8 dice!
Most of the Cells go on overwatch, while Cell 2 continues to move forward.
The HVT feeds a goat in the village centre and continues his trek, taking him further away from Delta.
Patrol Callsign Kilo take cover by the light woods on the hill, with their JTAC operator preparing to use the SOFLAM.
Patrol Callsign Indigo ventures forth in a rapid advance and engages the approaching cell. However overwatch fire from other al Qaeda cells drops all three operators!
 |
| Current Delta Situation: FUBAR |
TURN 3
Al Qaeda continue to hold initiative. The HVT has heard the gunfire and his Bodyguard detail pushes him towards the designated escape point.
The cells start firing on Kilo but the team slinks off in the shadow of the hill, with one operator rushing to provide first aid to Indigo. Also, the JTAC separates himself in the process and successfully calls in for an air strike.
Cell 4 takes cover in a dip in the mountain, within rapid distance of the injured Indigo team.
 |
| Air strike inbound! |
TURN 4
Al Qaeda still hold the initiative but the air strike makes its attack approach. Some minor casualties are suffered by two cells in the village but more importantly the HVT and his bodyguards are hit in a bad way. There are fears the HVT is a casualty.*
Further good news for Delta is that all three operators are only lightly wounded and so they get back on their feet.
Al Qaeda Cells in the village provide overwatch whilst the cell by the woods on the right flank engage Kilo team in a round of fire. An operator is hit and Kilo return fire and the cell suffers a couple of casualties.
Hearing the explosions of the air strike echo across the mountains, the cell closest to Indigo prepares to rush the infidels. As they approach, running up in their sandals, al Qaeda in the village provide covering fire. All three operators are hit so by the time the charging cell arrives, all they have to do is execute the helpless Delta operators. Al Qaeda score 9 victory points.
 |
| All operators from Team Indigo are declared KIA. |
 |
| "Good strike, I repeat, good strike!" JTAC Operator |
TURN 5
The HVT - Osama Bin Laden - is indeed dead, the air strike leaving nothing except some bloodied rags! 15 victory points scored by Delta.
Despite the loss of their leader, the enraged al Qaeda retain initiative.
An operator from Kilo checks his buddy for injuries and finds that the soldier has been shot in the head. Al Qaeda now have a total of 12 victory points.
The cells in the village attempt to engage the surviving operators however Kilo reacts first and falls back out of sight, just behind small hovel.
The cell that just executed the Indigo team members try to follow up their success and advance towards the hovel. Before they open fire, Delta engages and takes all but one tango down.
Meanwhile, a rag tag bunch of al Qaeda reinforcements arrive who run to the bloodied remains (or smear) of their fallen leader.
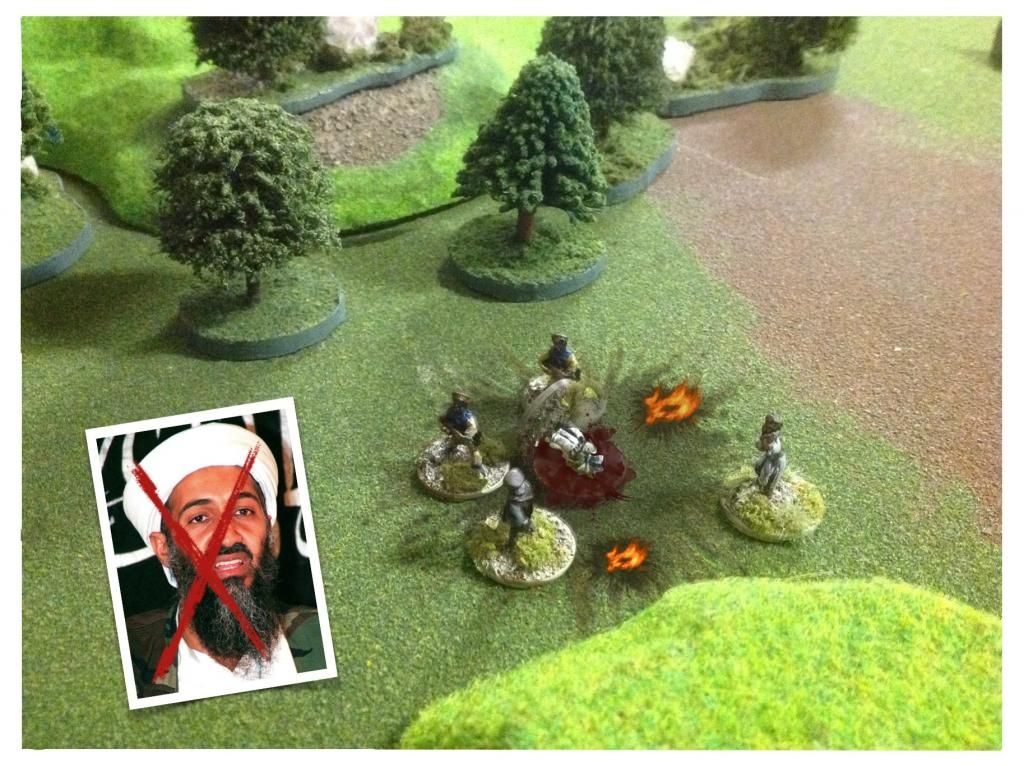 |
| Kill confirmed - Bin Laden is dead! |
TURN 6
There is little that can be done except that the lone survivor of the cell closest to Delta attempts a final suicide charge but he is shot before he does any harm.
The al Qaeda forces back the village can do little but howl and yell insults to the retreating operators.
 |
| Team Kilo prepare for extraction. |
END
Delta scores 15 points to al Qaeda's 12, just securing a minor victory in game terms but a major blow to the al Qaeda operation, having lost Osama Bin Laden (unless he was a clone...?)
Was it not for that single air strike, Delta would have been in big trouble.
As I write this, I realise that Osama's Cell is rated D10, not D8... That could have changed things up a bit when rolling defence against the air strike! Oops!
Nevertheless it was a fun game, albeit a fair bit of rule checking was done as both Doug and I are still learning the rules. The Force on Force game is good but the book is organised haphazardly and missing a fair few clarifications*.
Well done to Doug for winning the day.*When exactly does an air strike occur? We played that it happens before any other unit take actions.
*If during an opposed Overwatch test both the attacker and defender fail their reaction test, what happens? We played that the overwatch unit still fires first but falls off Overwatch.
Love what you did with the ground attack pic! :D
ReplyDeleteGreat write- up, thinking you are in the wrong vocation and should be a combat journalist!
Well, I suppose he was a clone indeed (or at at least a double), or how do you explain the 2011 raid? ;)
ReplyDeleteYou did right on the rules in both cases, Airstrikes happen before anything else and both units failing reaction tests = initiative side first but falling off overwatch.
Hope that helps you for the next few games!
Keep it up.
BG
Thanks for the clarification, BG. I am glad FoF was designed by people who take a logical approach, meaning trouble shooting using logic is possible! Unlike certain other games...
ReplyDeleteVery enjoyable AAR! Loved the descriptions and effects on the photos!
ReplyDelete