
Needing an excuse to use his newly purchased Church, Dead1 invited me to a game of Battle Group Kursk (BGK).
For those familiar with Flames of War, there are a few differences in BGK. Instead of Movement, Shooting and Assault phases, units receive "Orders" (of which there is a selection to choose from) and are activated in full. For example, if you instruct your infantry squad to Move & Fire it will do so all in the one activation, after which you select another unit to do another order.
The number of orders you receive per turn is random, generally 2d6 plus one for any officers you have. This can cause plenty of havoc and is a great way to represent the fog of war in a game.
Two interesting orders that provide a lot of tactical options is Reserve Move and Reserve Fire. Instead of activating your unit in your own turn, you can interrupt during your opponent's, providing overwatch or repositioning exactly where you want that unit to be, knowing where the opponent will exactly be.
Also, the game is over when an army "breaks". Each time you cause your opponent to lose a unit or you gain an objective, the opponent receives a random Break counter. The counters are numbers being between 1 to 4, representing Break points. When an army has a total number of Break Points equal to its maximum (determined during the list building process), the army is routed. However there are a few counters that provide a surprise, such as an Air Strike!
Both the Germans and Russians could take up to 28 break points before routing.
Anyhow, we organised a 500 point game loosely based on the first time the Russians faced the Tiger II.
The 500 points bought me a single Tiger II (commanded by an Ace), a Tiger I, a platoon of Panzergrenadiers in trucks, a squad in half tracks, a Panzershreck team, a sniper team and a Forward Observation HQ.
Dead1 would be commanding a HQ team in a T34-85, three more up-gunned T34's, two SU-85 assault guns, three BA-64's and four infantry squads supported by a Maxim MG.
THE MISSION
This was a simple flanking mission, where only a random number of units is deployed (d6), but all Recce troops arrive from their flanking positions.
The Russians received three initial units plus their three BA-64's, while the Germans epically rolled a "1", and they fittingly deployed the Tiger II with the snipers being the deployed on the flank.
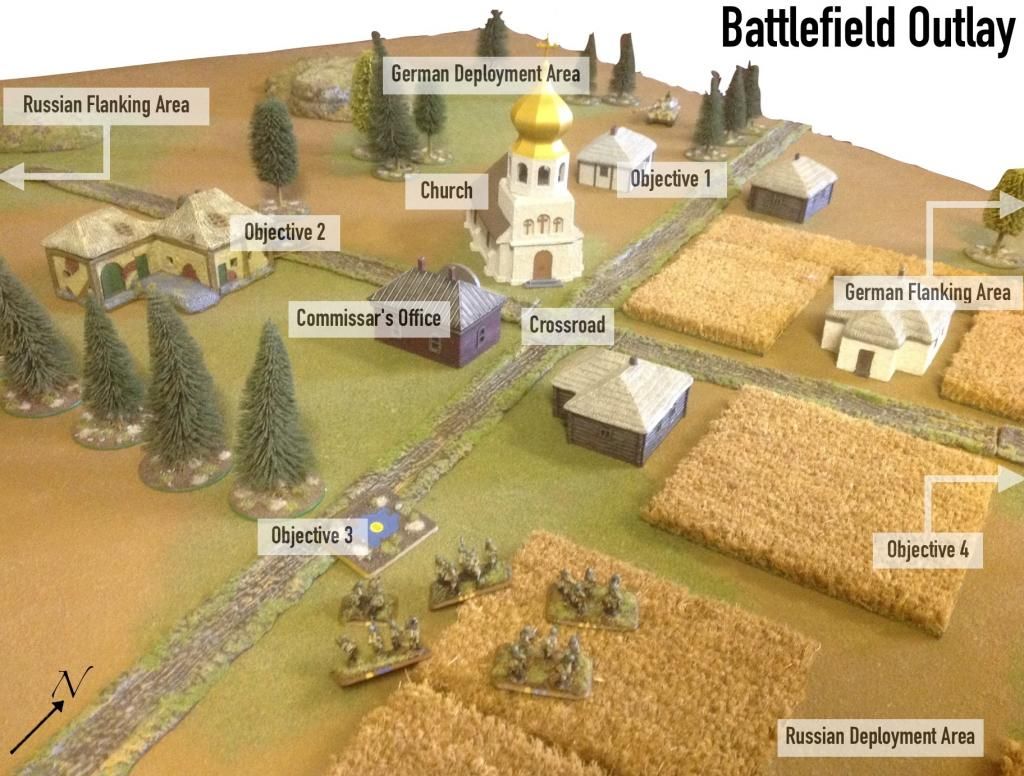
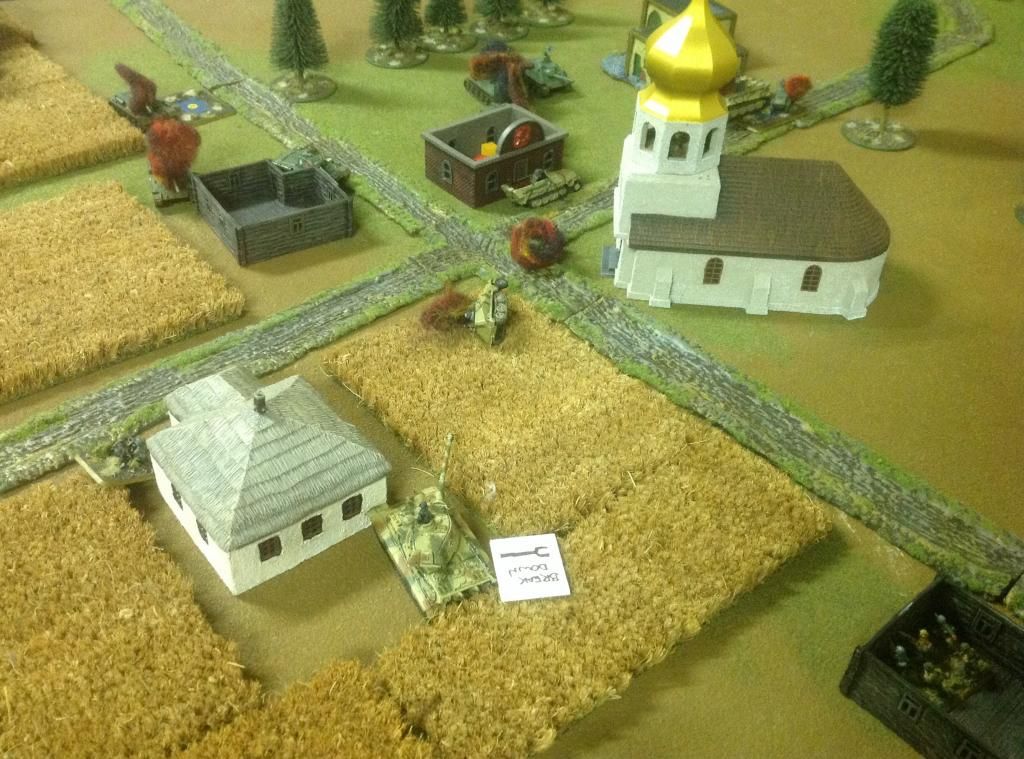
There were four objectives around the village, as detailed in the map below.
MAD RUSH
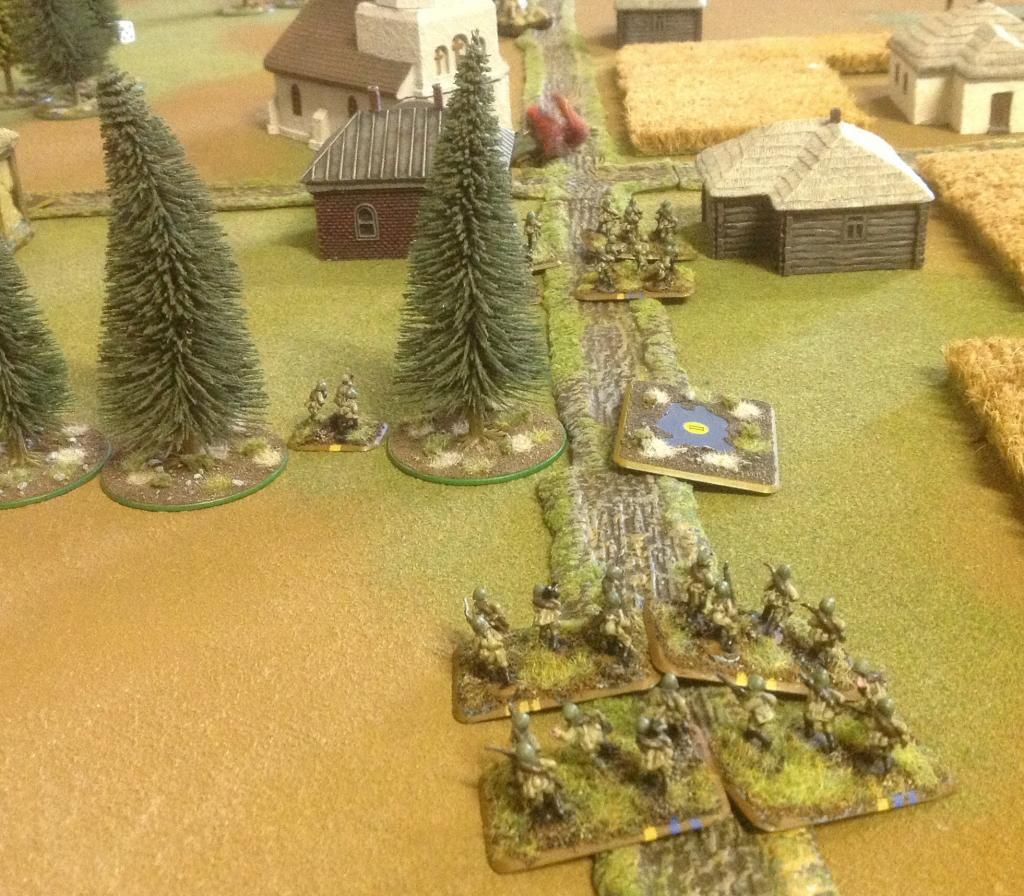
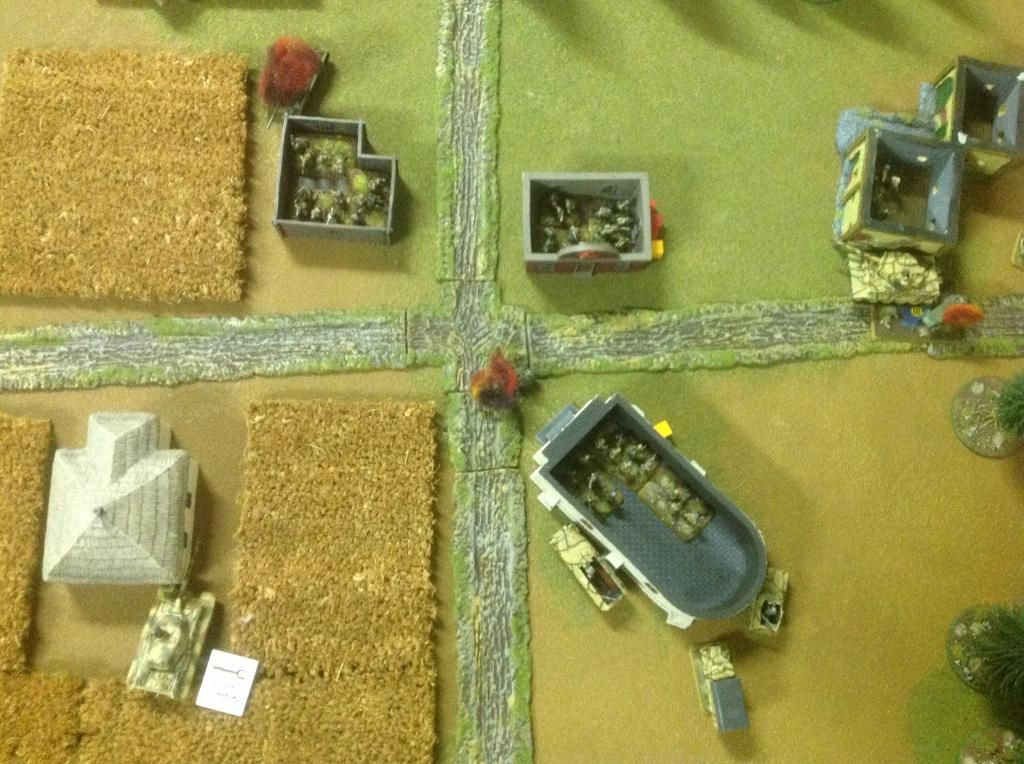
Reconnaissance troops are very important in the early stages of the game, and as the Russians had more Recce units they had the initiative. The Russian infantry moved up the road towards the Church and took Objective 3. Meanwhile the speedy BA-64’s zoomed along the west road and took Objective 2.
More Russian infantry came along as reinforcements and these split, one team heading east for the German Sniper Team, the other west to support and hold Objective 2. The HQ T34-85 also arrived and proceeded up the road, taking a hull down position by a building.
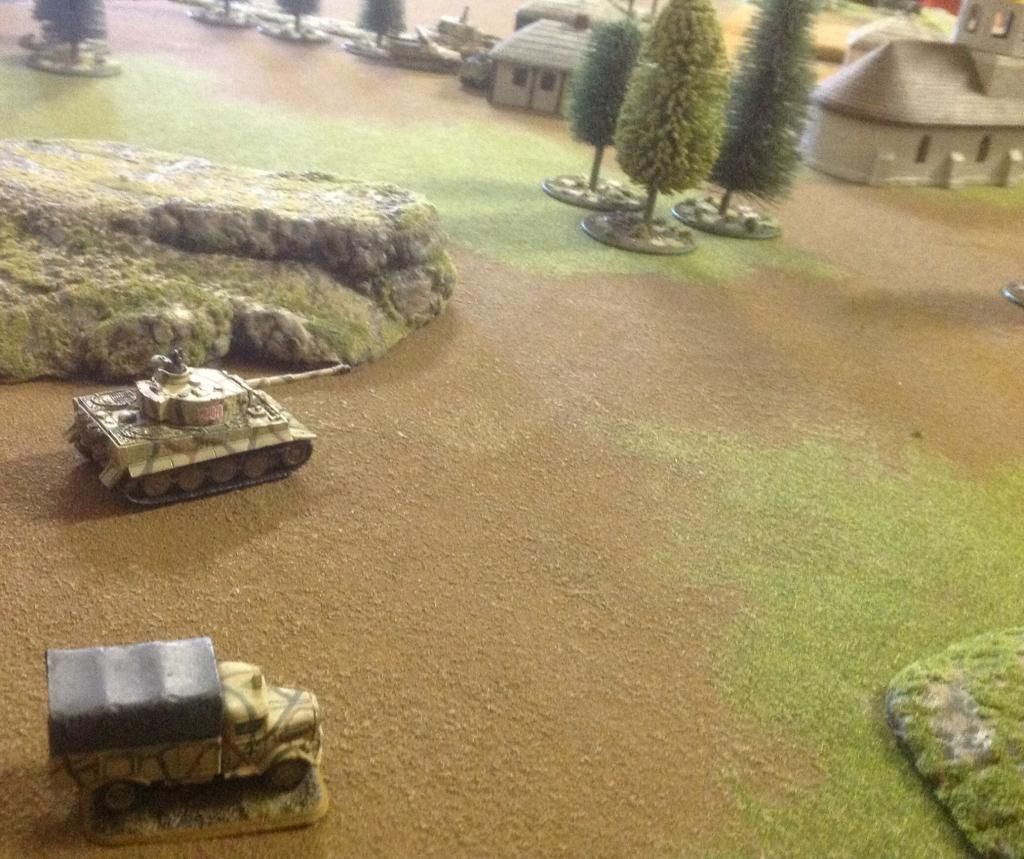
The Tiger II trudged to reach the northern road and expertly destroyed two BA-64's, mostly thanks to his Ace commander, while the last on hid behind the Church. The snipers moved to take Objective 4.
German reinforcements came flooding in, with the HQ and Gepanzerte Panzergrenadiers supporting the Tiger II's drive down the northern road while the Tiger I and truck laden Panzergrenadiers squad approached from the west.

CONVERGENCE
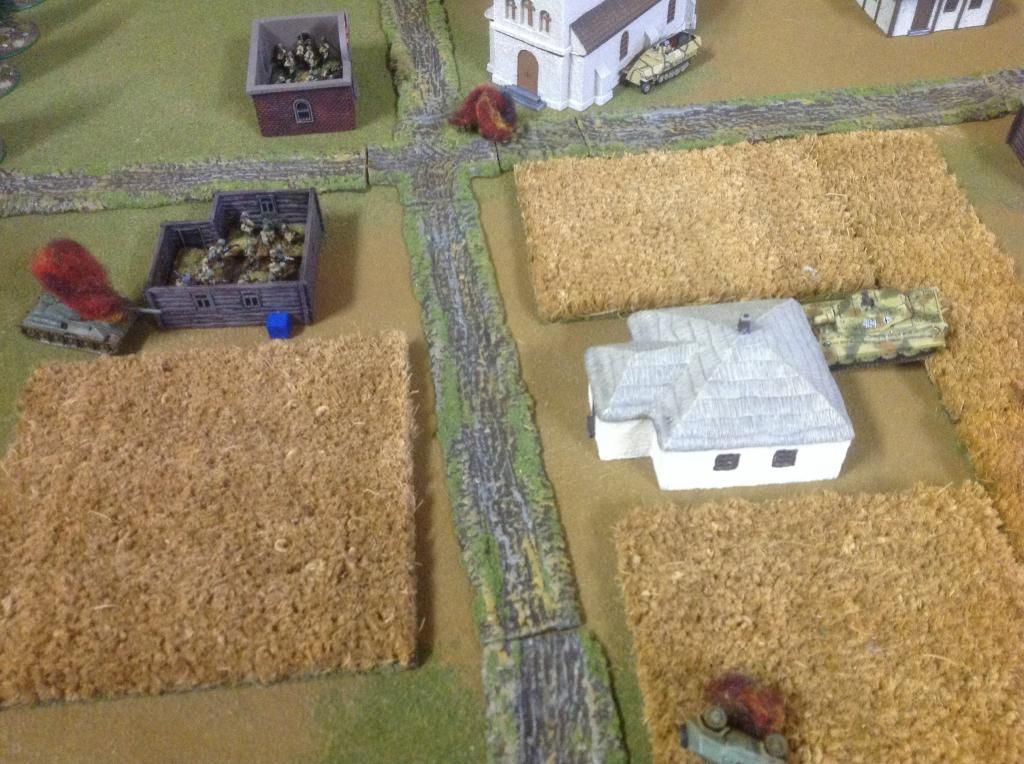
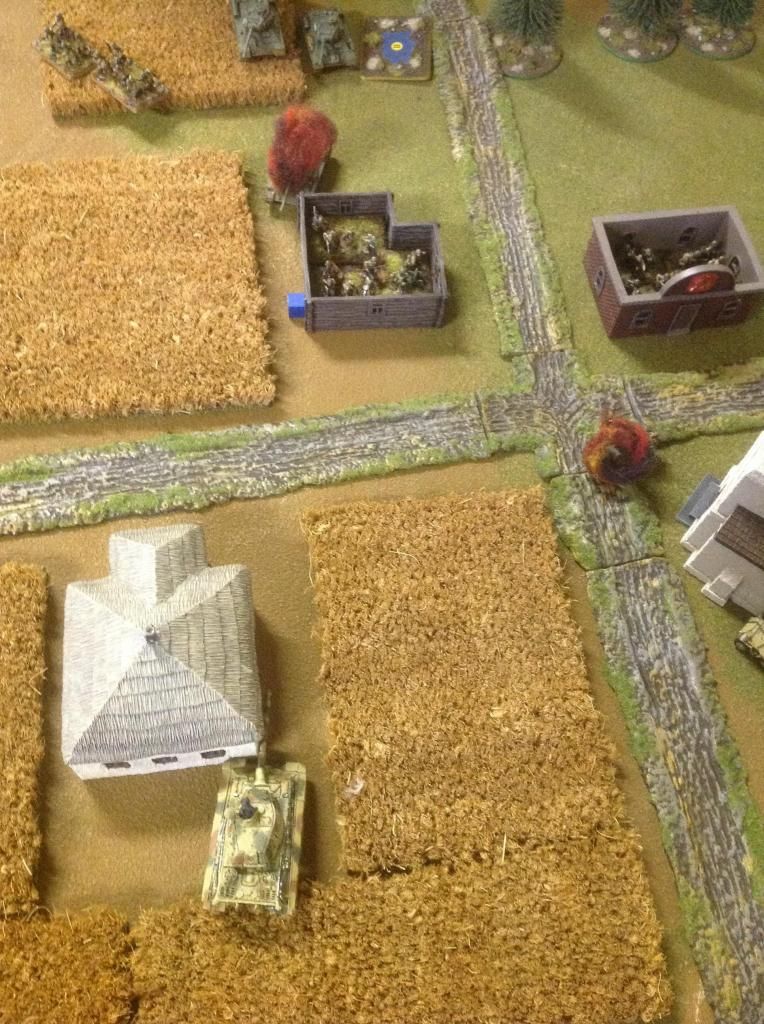
The Russians received further reinforcements in the way of T-34's and SU-85's and most of the army continued its advance to the centre of the village, taking cover in the Commissar's Office and the building beside it. They would go in overwatch.
The eastbound Russian infantry engaged and destroyed the sniper team without difficulty while the westbound took cover behind a tree line. The lone BA-64 started to drive towards the east, with plans to take Objective 4, now free of any Germans.
The last of German reinforcements arrived, pushing from the north.
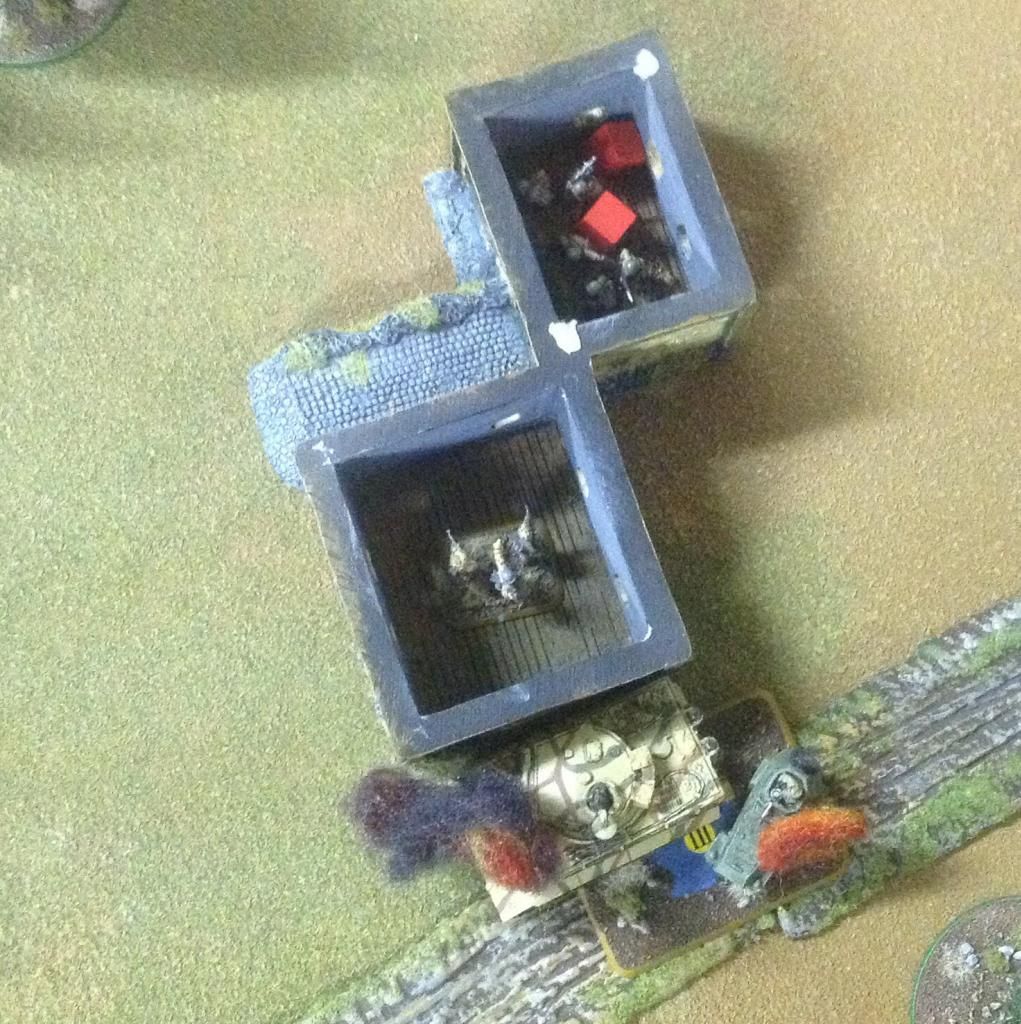
The Tiger II destroyed the last BA-64 and then took cover by a building. The Russian HQ T34 concentrated fire on the Tiger II's front armour but had barely a chance (needing two "6"s in a d6).
The Tiger II casually turned its turret and with a high velocity shell swatted away the T34 into twisted metal and flames. The Russians had lost their commander and would have one less order each turn. In a bizarre if somewhat historical twist of fate, the Russian's break counter actually allowed to impose a Breakdown result, which was of course placed in the Tiger II. The roll result was that it was immobilised!
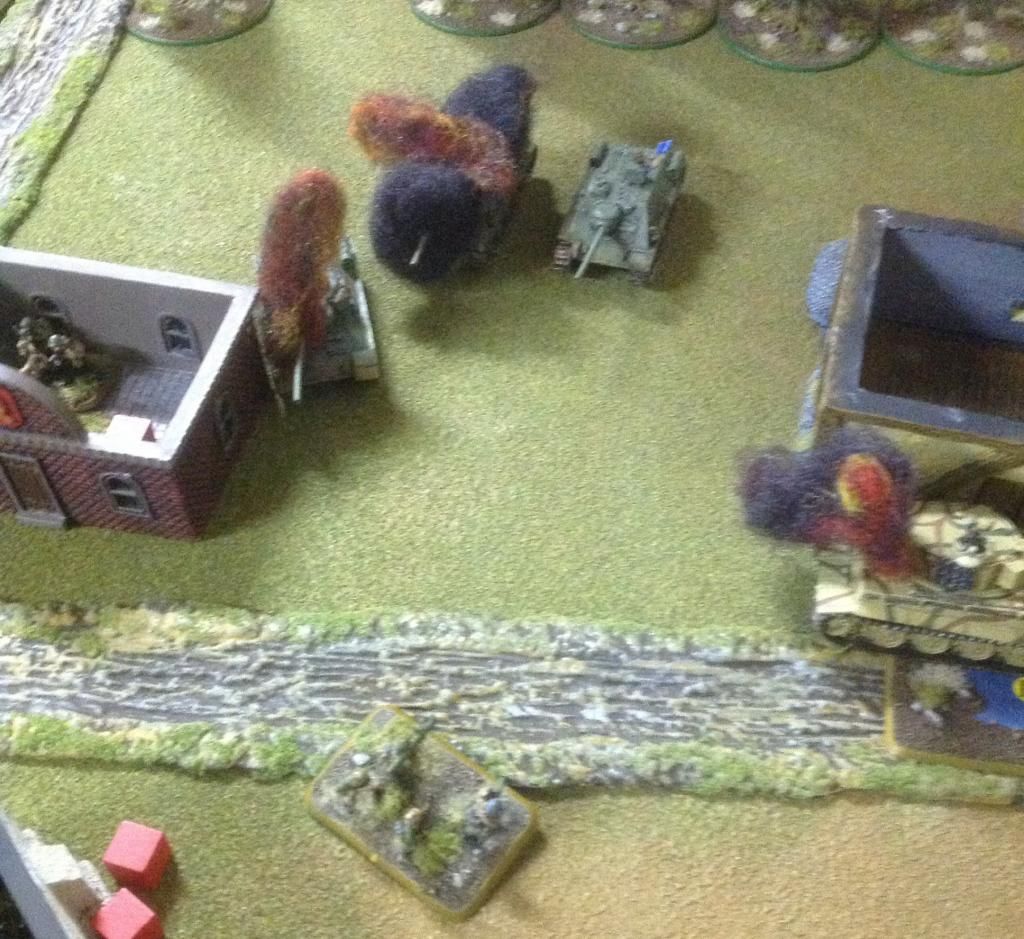
The Tiger I reached Objective 2 but due to the proximity of Russian troops could not gain it. It did however engage a T-34 and destroyed it. The infantry squad supporting here disembarked and took positions in the nearby farm building. There was a firefight between these Germans and the Russian troops in the Commissar building, with both sides taking casualties.
The Germans troops from the north made a beeline for the church and disembarked their troops, with a MG42 team taking position in the bell tower.
THE BLINDED EYE OF THE TIGER
The Russian unit that had killed the sniper team took Objective 4 and then turned to rejoin the fight for the crossroad.
With all units converging around crossroad, the battle was intensifying. The Russians made a concentrated effort to destroy the Tiger I and the supporting Panzergrenadiers squad. In preparation of the assault, suppressive fire pinned one of the squads in the Church but despite the Russian's best efforts, the MG42 in the bell tower could not be silenced. The German morale was high until an SU-85 behind the tree line blasted away and destroyed the Tiger I, despite its decent front armour.
The nearby Russian infantry squad behind the tree line then made their assault on the farmhouse. After a short struggle, the German infantry were killed or captured.
With imminent danger, the truck of the destroyed Panzergrenadiers retreated with all haste.
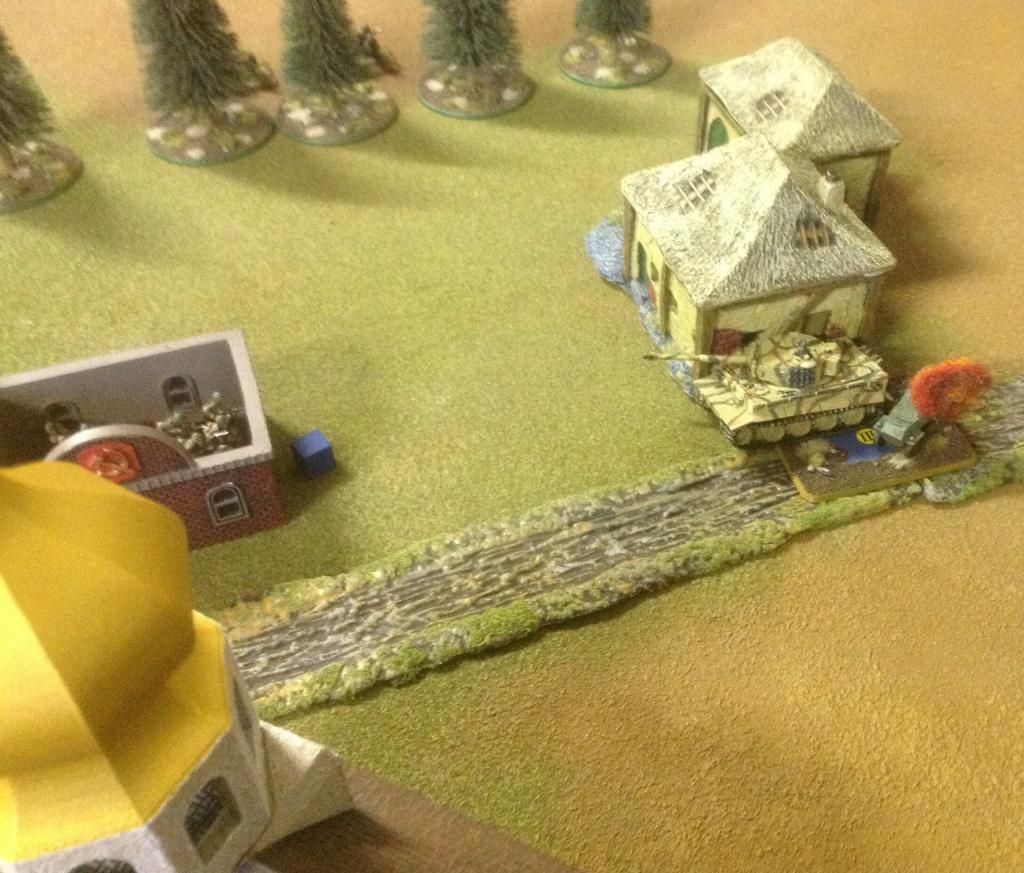
The immobilised Tiger II tried to seek revenge of its fallen kin by engaging the Russian armour but the shots just couldn't find their mark. A Panzergrenadier squad left the northern road and proceeded to support the Tiger II whilst the Panzershreck team ran for the Church.
The Panzergrenadiers not pinned in the Church exchanged fire with the Russian infantry. The MG42 in the bell tower was especially deadly.
DESPERATION
The Russians used their armour superiority to pound away at the Church and its occupants, although they could still not bring down the MG42 in the bell tower.
The Tiger II's position allowed some limited shots back but it continued to miss.
The Panzergrenadiers supporting the immobilised Tiger II took back Objective 4 and then engaged the Russian infantry, along with the remaining German troops. Lead and shrapnel peppered the crossroads as both sides threw everything they had at one another. Quickly both sides were starting to amount a great number of casualties.
The Panzershreck team finally made their mark when they entered the Church and succeeded in putting one of the T34s into flames.
The Russians then concentrated their fire to destroy this threat. A SU-85 put a shell into the Church, killing one of the Panzershreck team. His surviving team mate not only passed a morale test but receive an immediate free turn! He rushed out of the Church and fired the rocket at point blank into the offending assault gun. The aim was true and the vehicle exploded. Return fire from other Russian infantry cut down the last member of the Panzershreck team but the damage was done.
Most teams on both sides were lost, under half strength or pinned. The German's two half tracks exited the cover behind the Church to draw fire away from the besieged Panzergrenadiers and provide support but the HQ's vehicle was disabled in the process. However the MG42 team continued to pour fire and after destroying another infantry unit, the Russians finally routed.
AT WHAT COST
The Germans had a victory but were only 4 Break points away from also Routing. Had it not been for the daring Panzershreck team destroying the T34 and SU-85 and had the MG42 faltered at any time, the outcome would been different.
BGK really presents WW2 combat fantastically at this scale, with a number of movie worthy moments.
Thanks for reading! Appreciate your feedback.
Nice report... Glad you enjoyed it!
ReplyDeleteKnights Cross for that Shreck team... Feel free to put a link to the report on our Facepage for Ironfist or on the BG forum at;
www.guildwargamers.com